Workflow
September 8, 2025
Productive Workflow
An Introduction to Git and GitHub
Luc Clair
l.clair@uwinnipeg.ca
University of Winnipeg
September 8, 2025

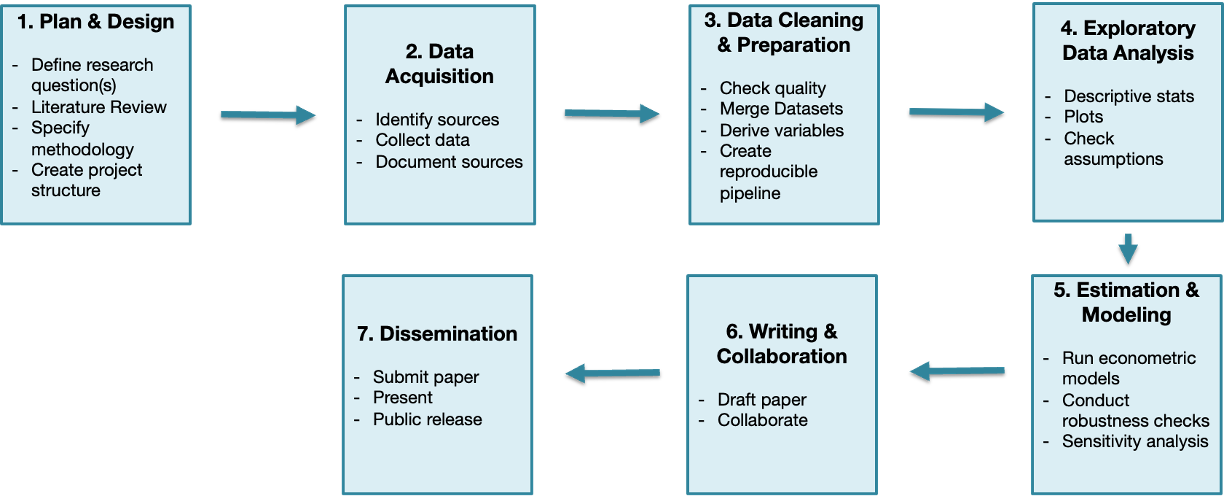
Workflow Example: Applied Economic Research
Git

Git Repository (cont’d)

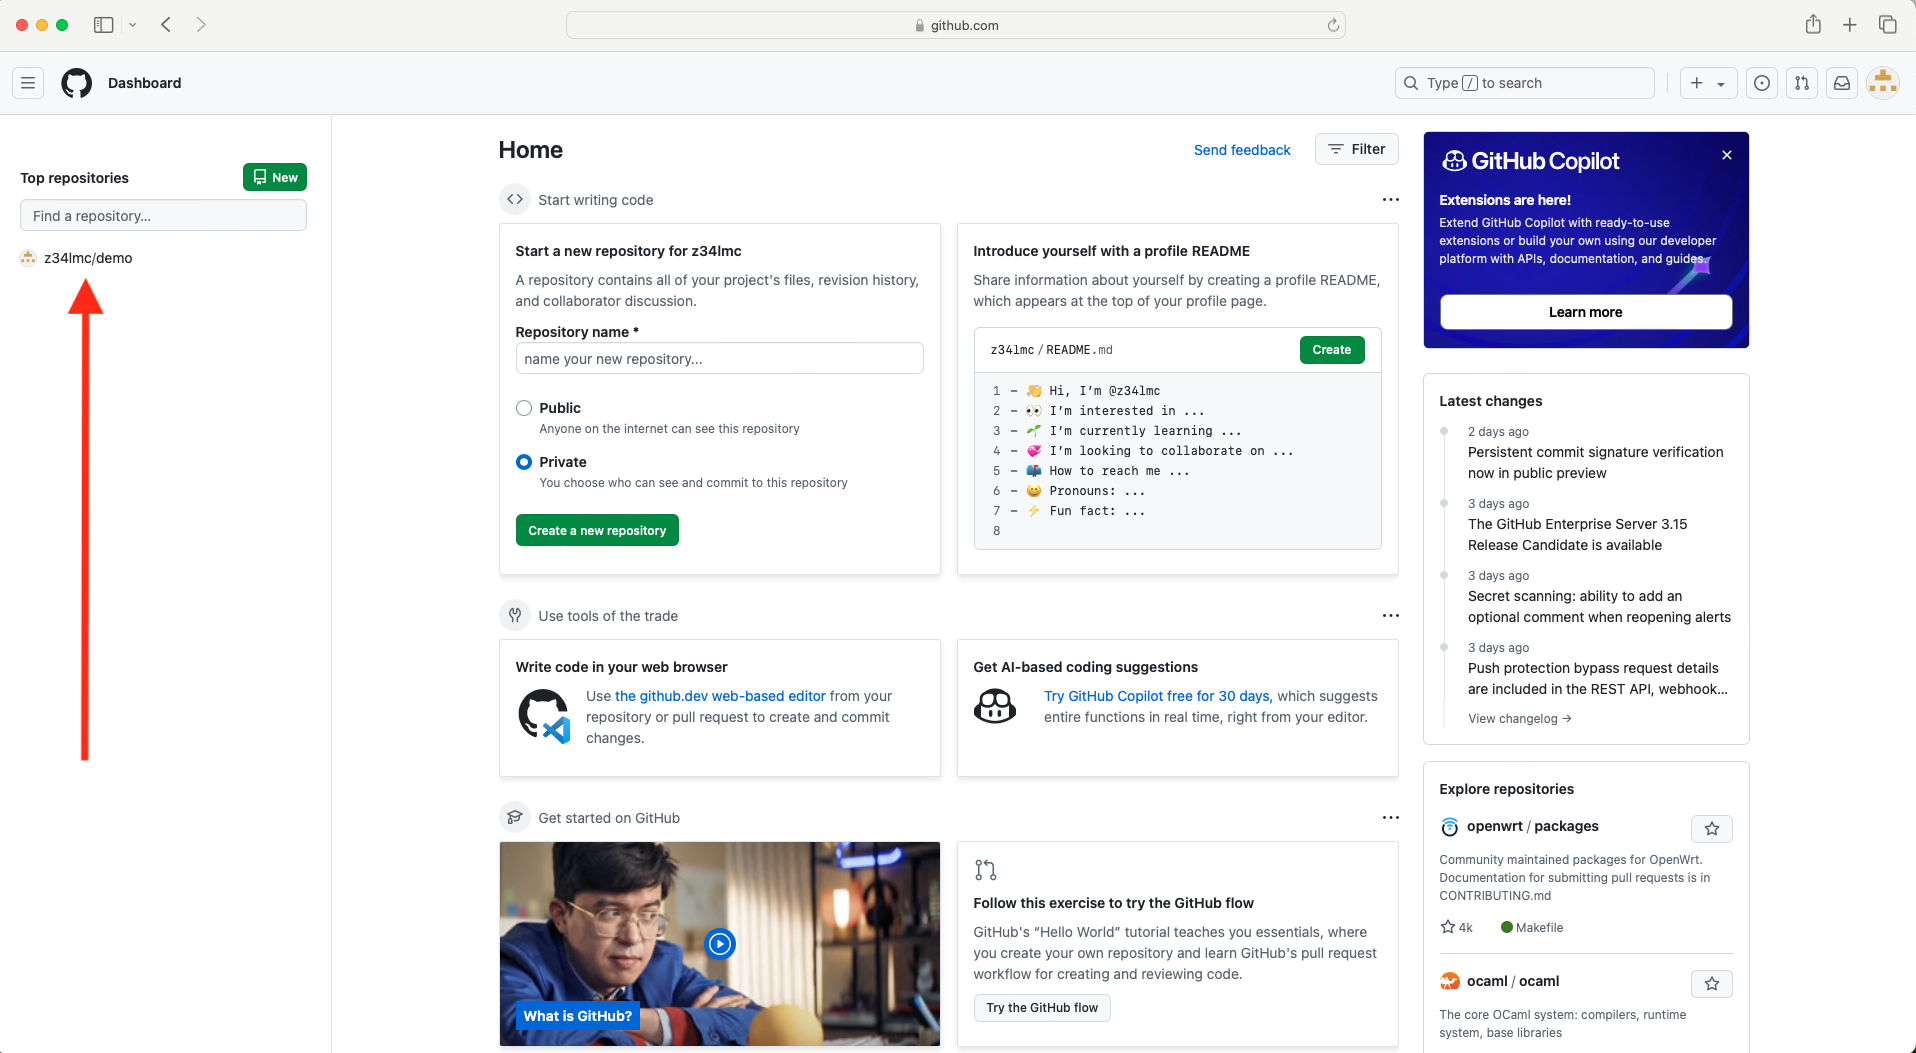
Create Git Repository on GitHub
- Go to github.com and sign in
- On your home page, click the
![]() button
button
 button
Create Git Repository on GitHub (cont’d)
- Enter the name of the repository

Create Git Repository on GitHub (cont’d)
- Choose whether you want the repository to be public or private

Create Git Repository on GitHub (cont’d)
- Add a README file, which gives a description of your project

Create Git Repository on GitHub (cont’d)
- Choose a license, then press Create
- For more on open source licensing, please visit ChooseALicense.com

Create Git Repository on GitHub (cont’d)
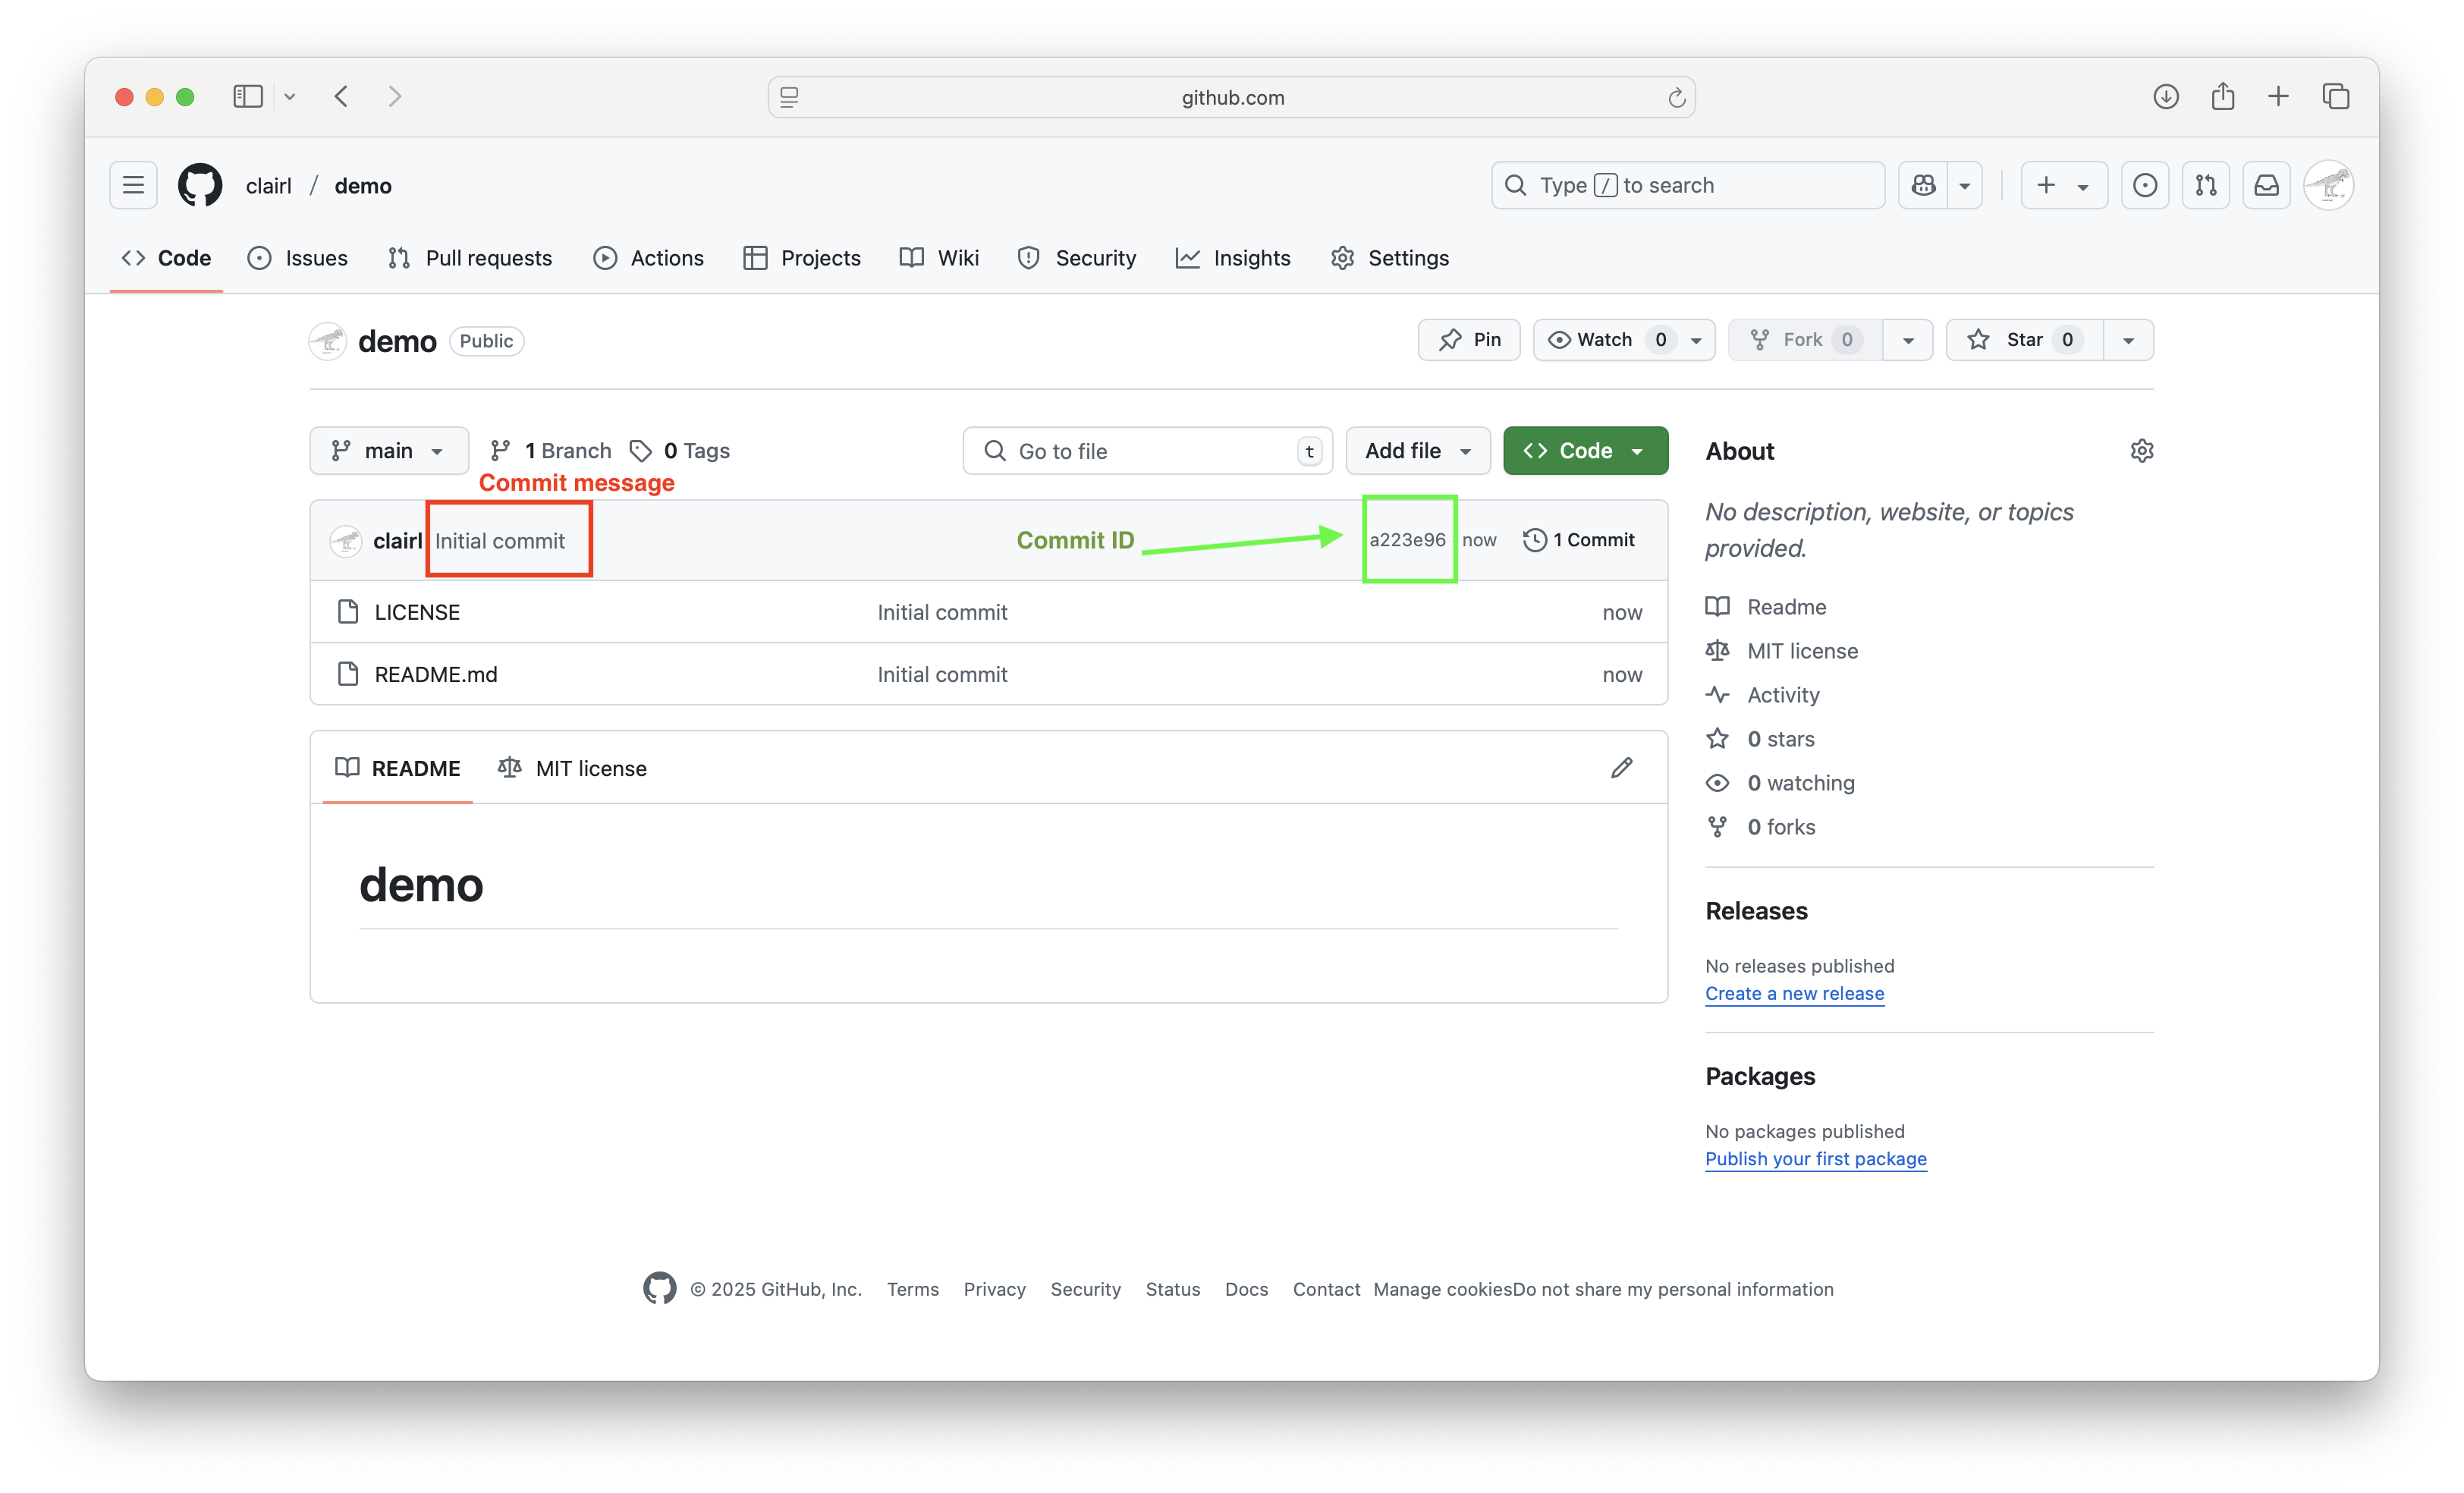
- Your repository has been created
- Here are a few things to notice
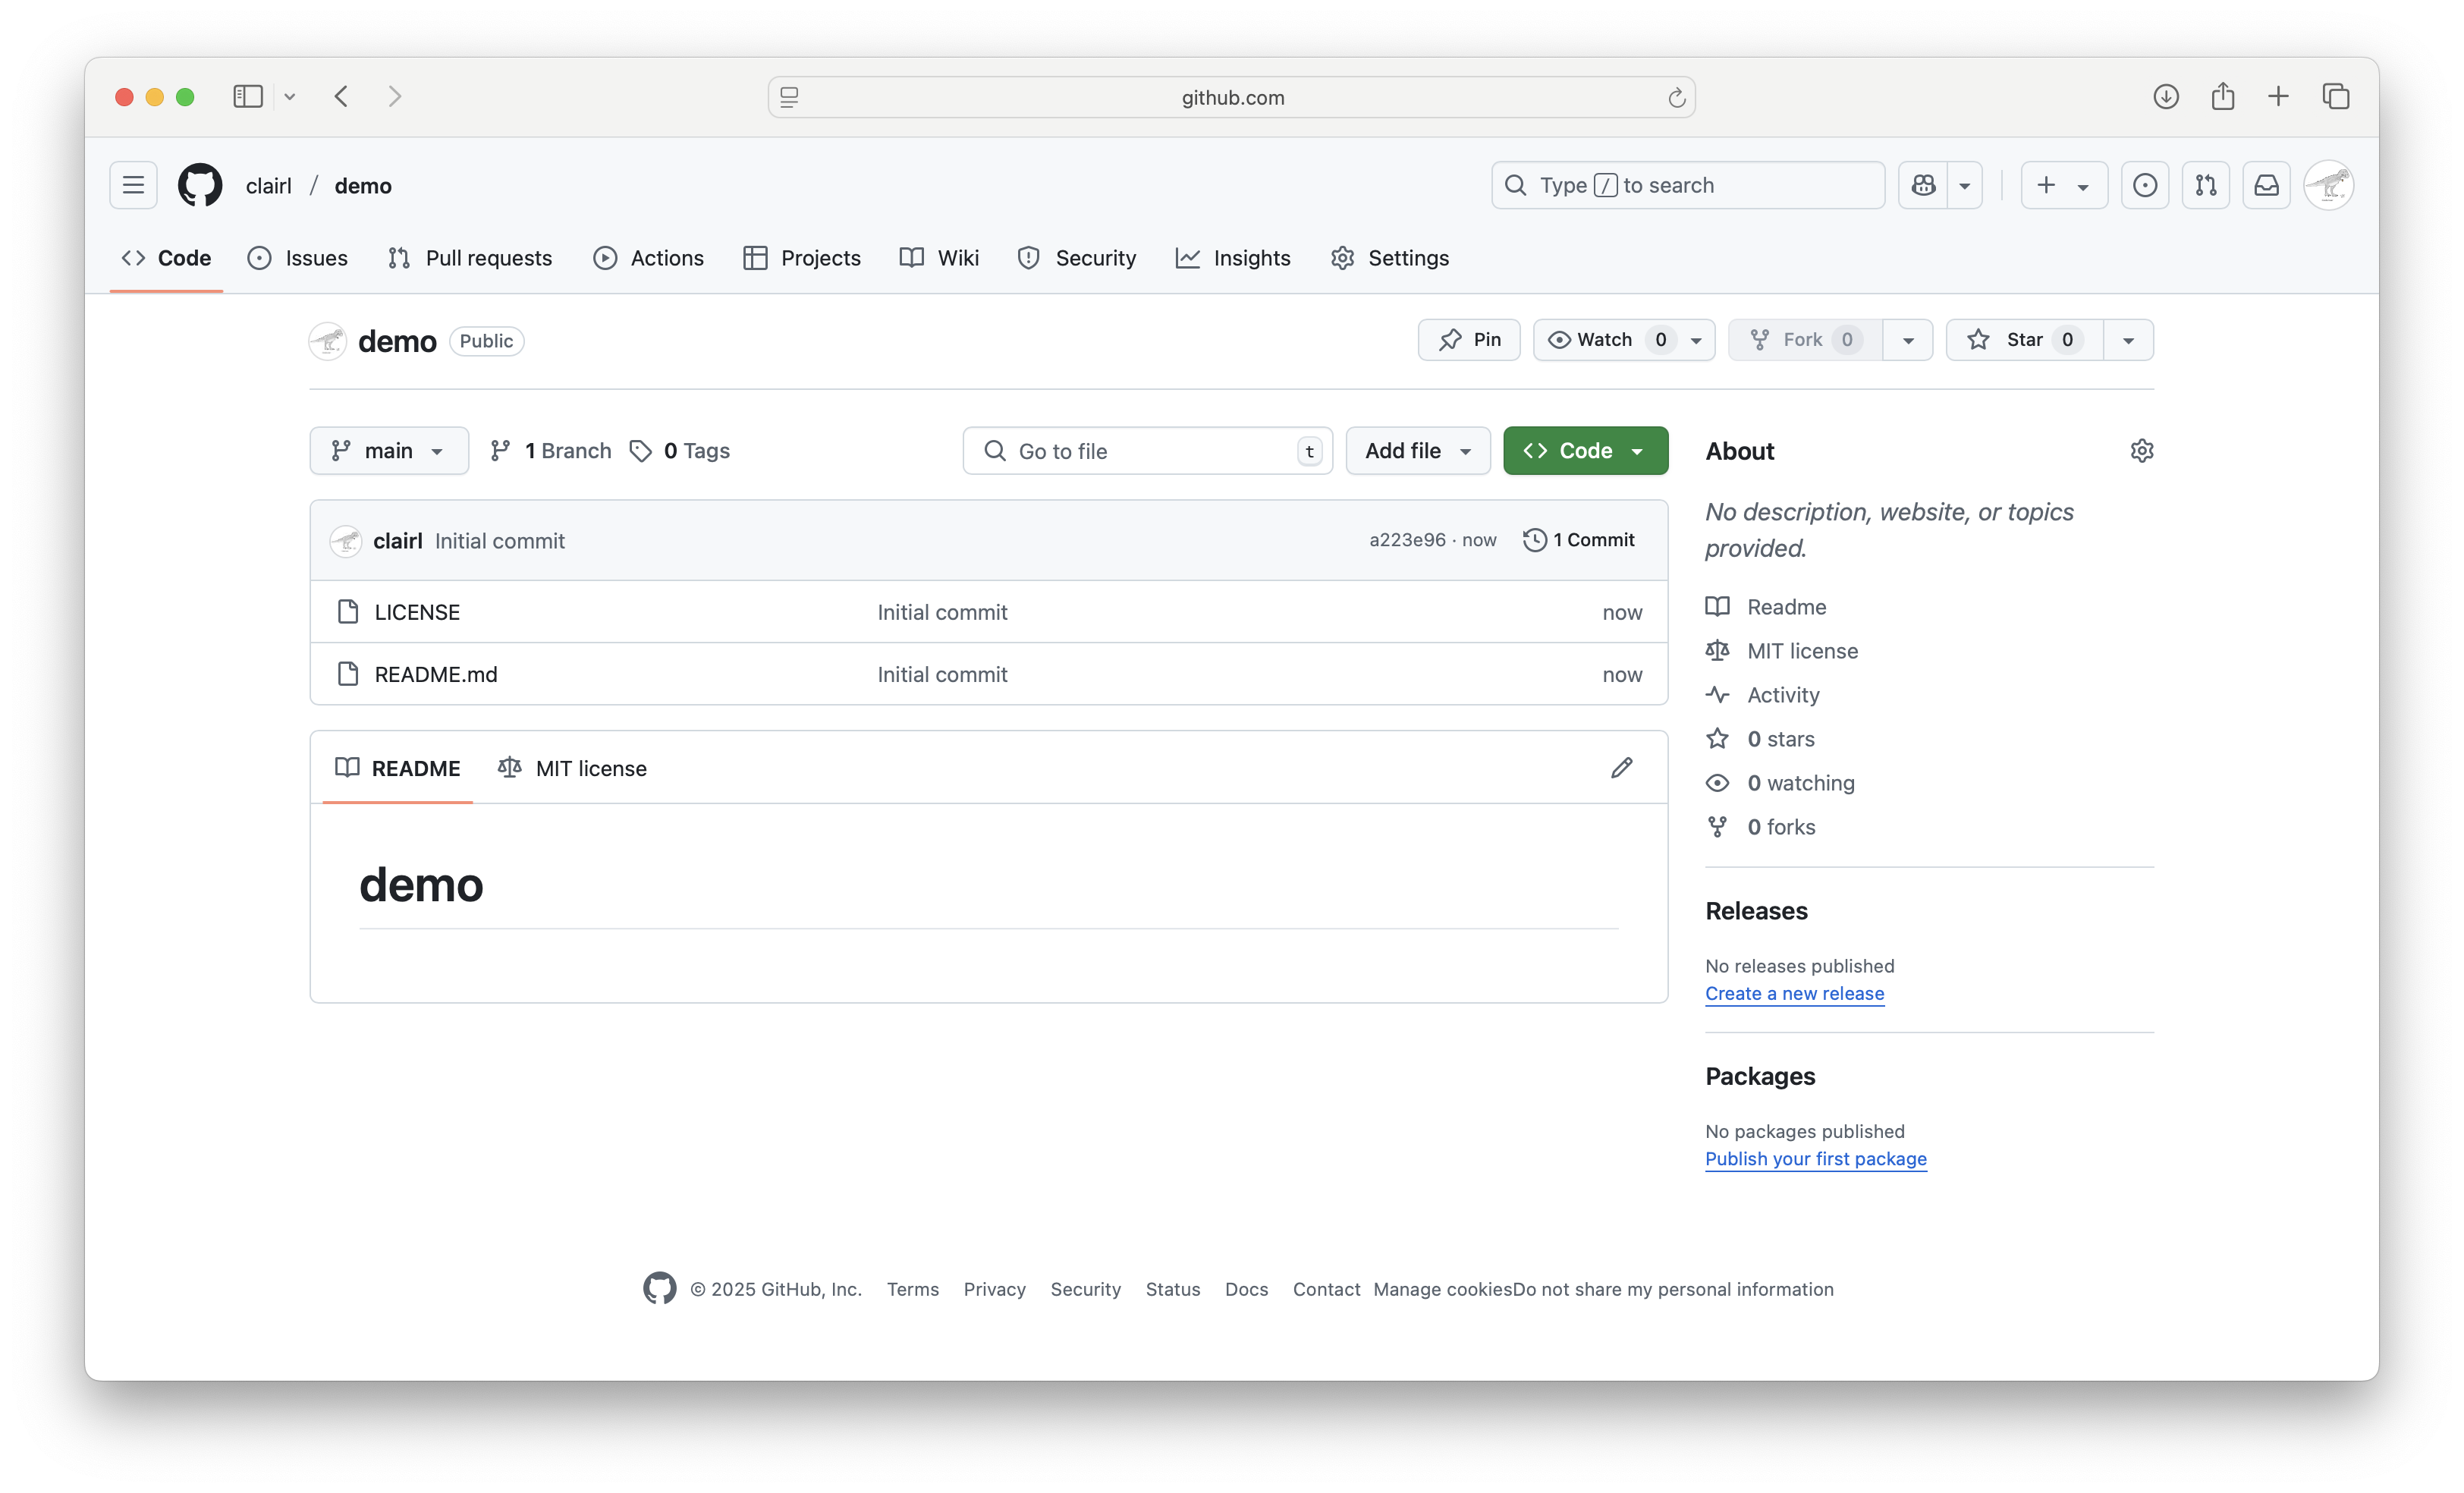
Create Git Repository on GitHub (cont’d)
- Git defaults to the
mainbranch

Create Git Repository on GitHub (cont’d)
- The commit message and commit ID
Create Git Repository on GitHub (cont’d)
- Two files were created: LICENSE and README.md
- Note the files created have the same Git message

Create Git Repository on GitHub (cont’d)
- LICENSE refers to the license chosen when creating the repository

Create Git Repository on GitHub (cont’d)
- README.md is the landing page for your repository
- It is where you describe your repository

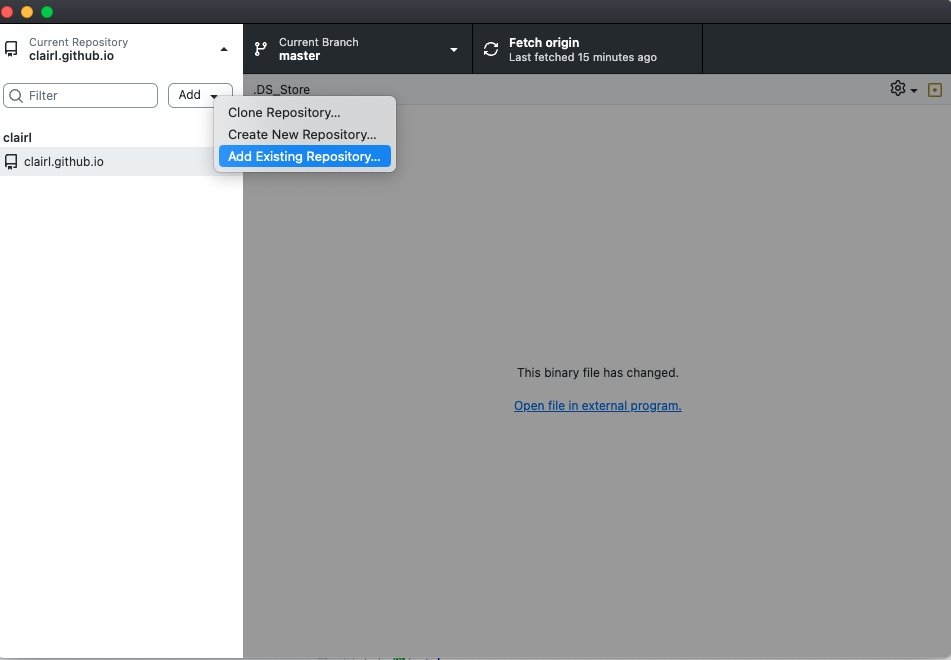
Clone GitHub Repository in GitHub Desktop
- Open GitHub Desktop and log in (if you are currently logged out)
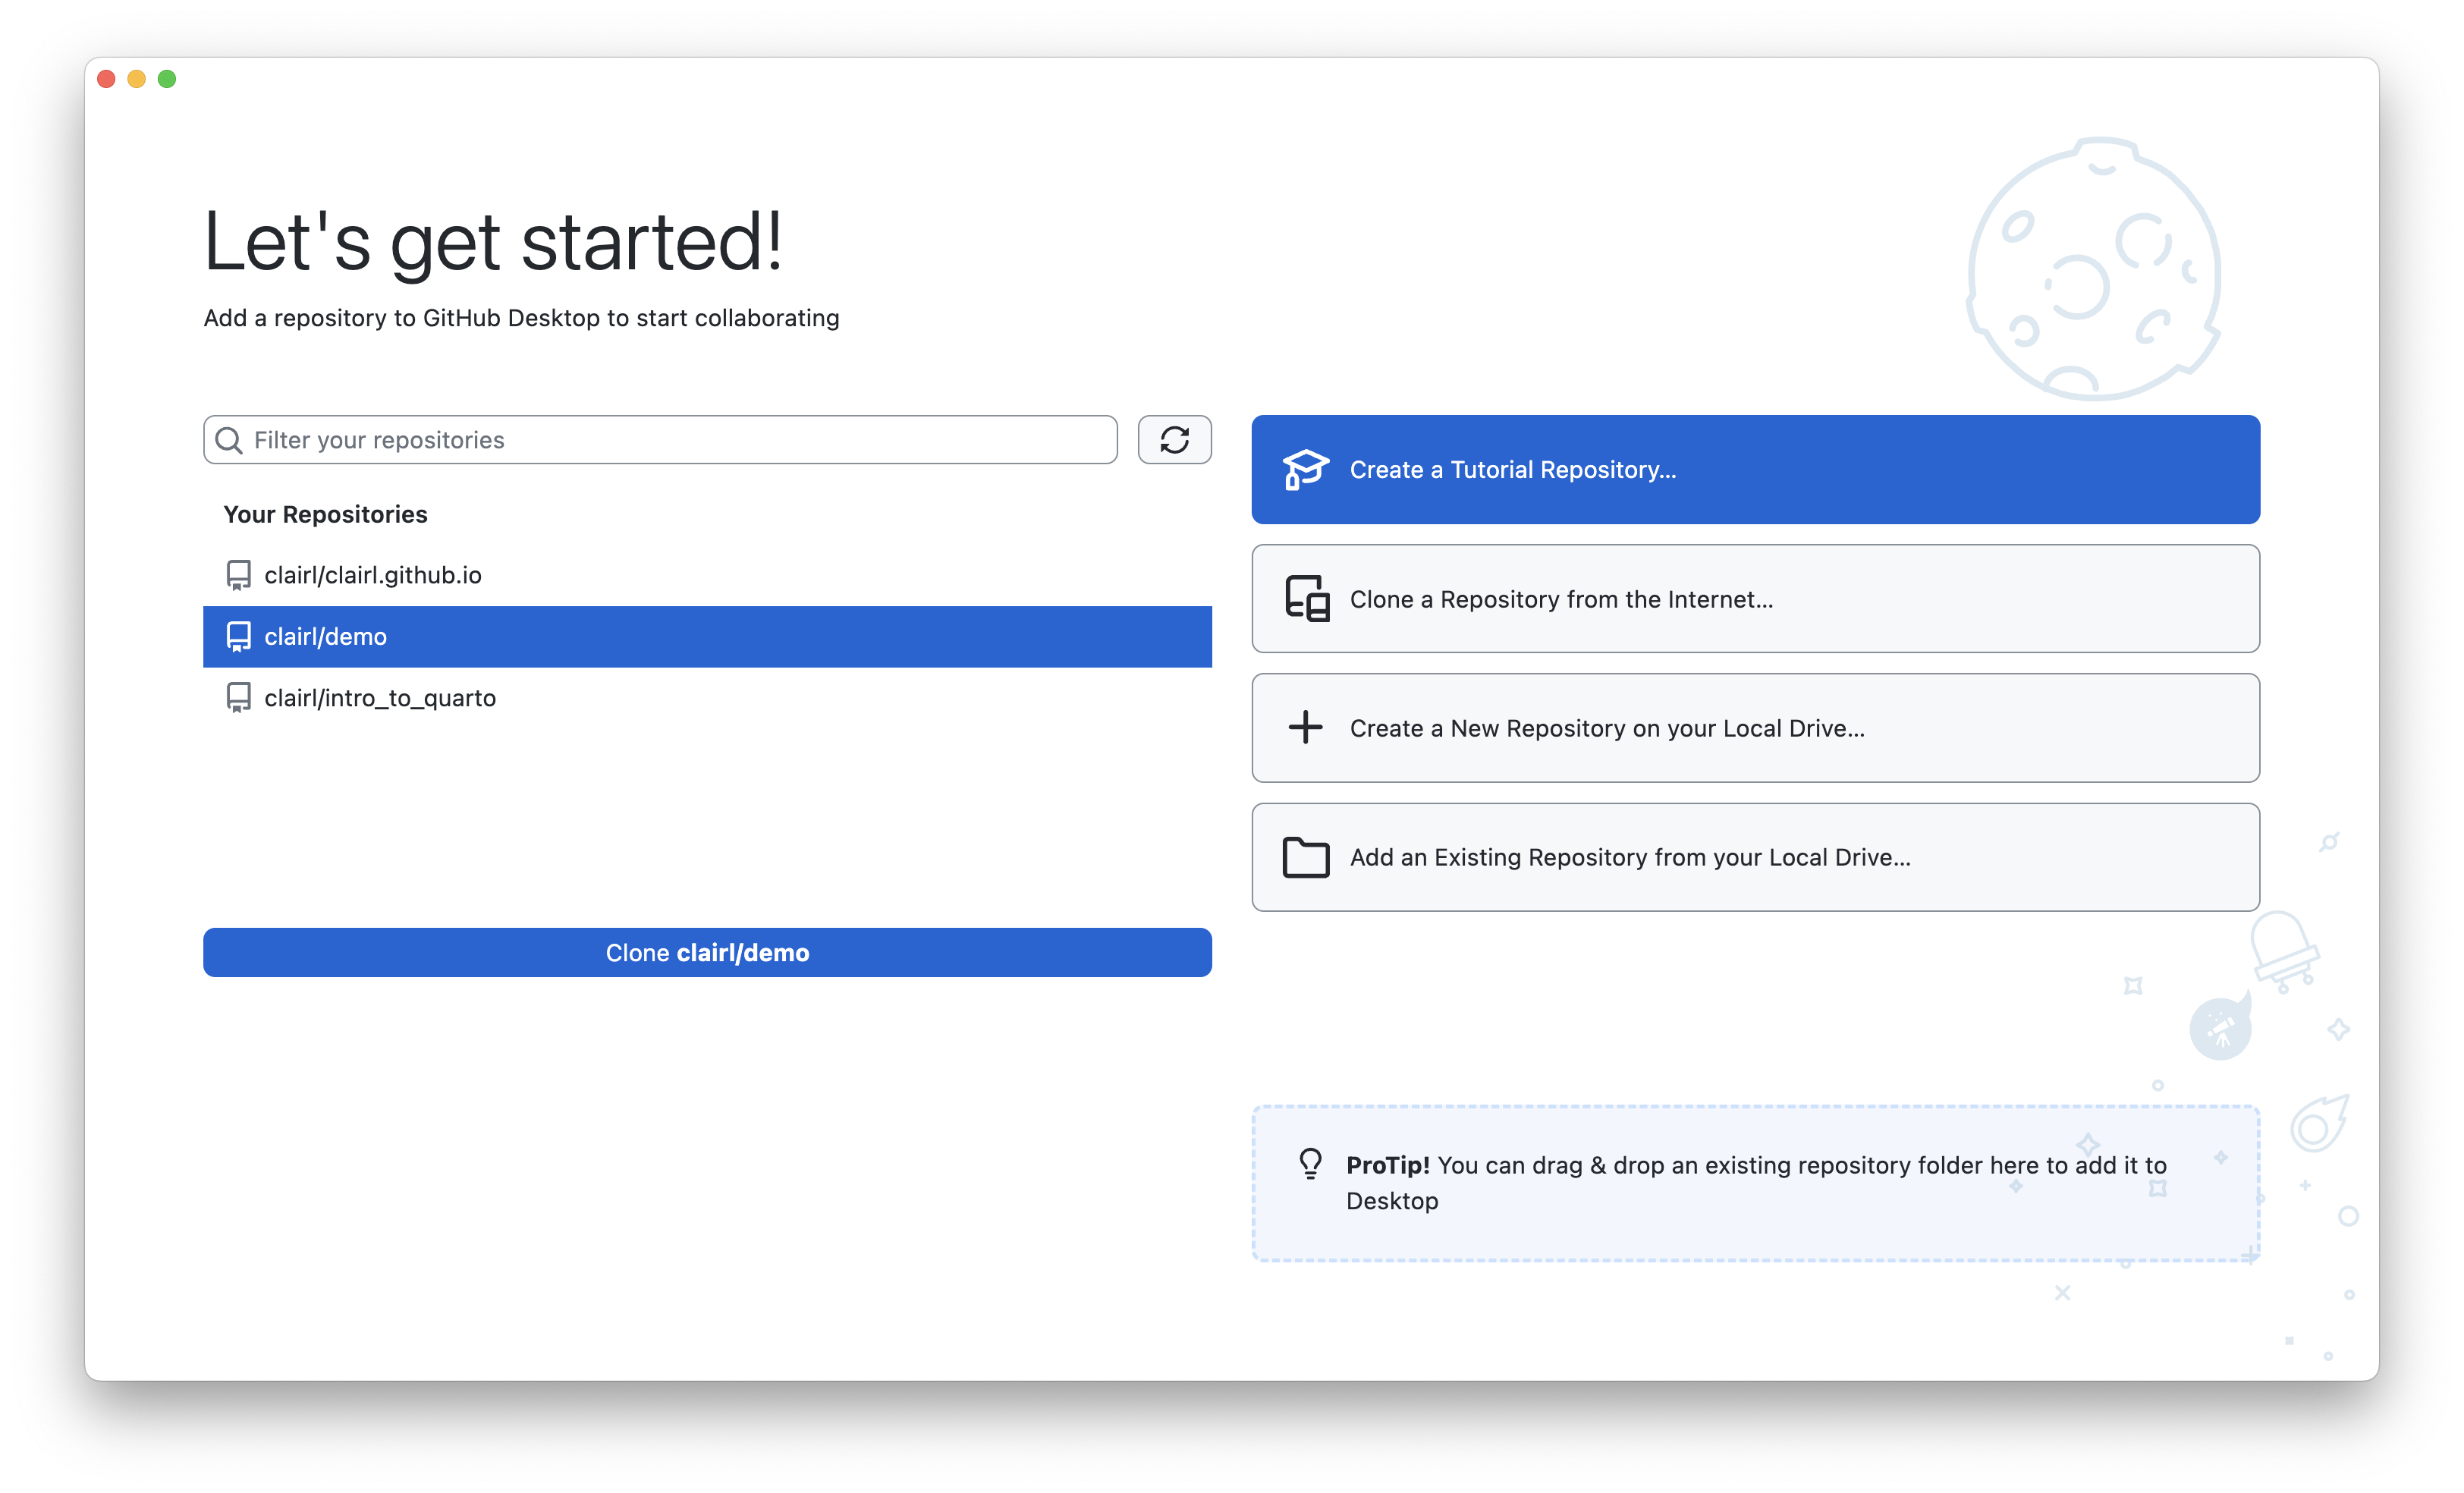
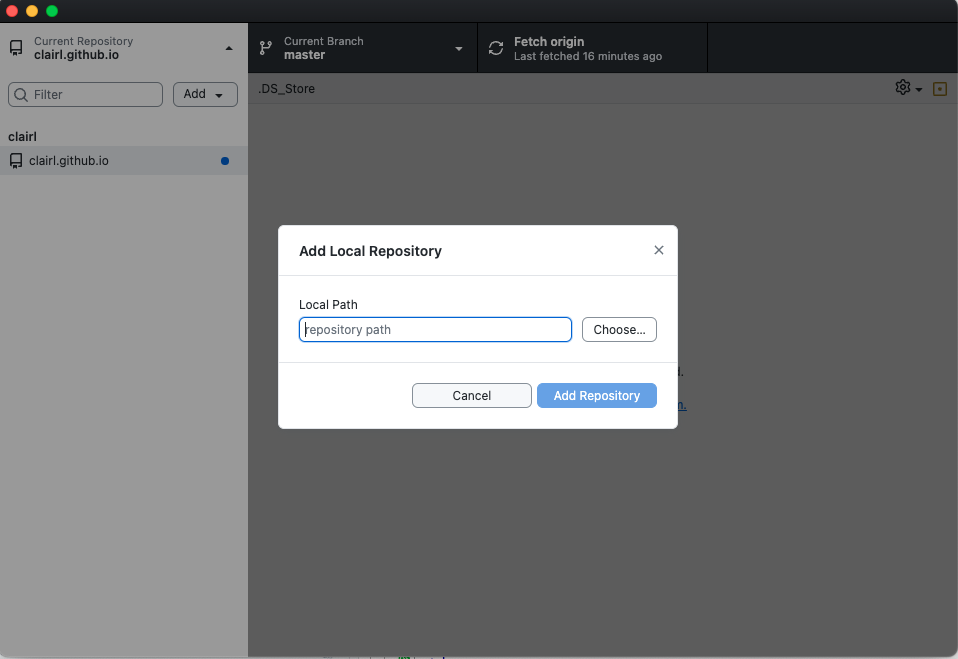
Clone GitHub Repository in GitHub Desktop (cont’d)
- Choose the location for the clone of the GitHub repo on your local computer and click Clone
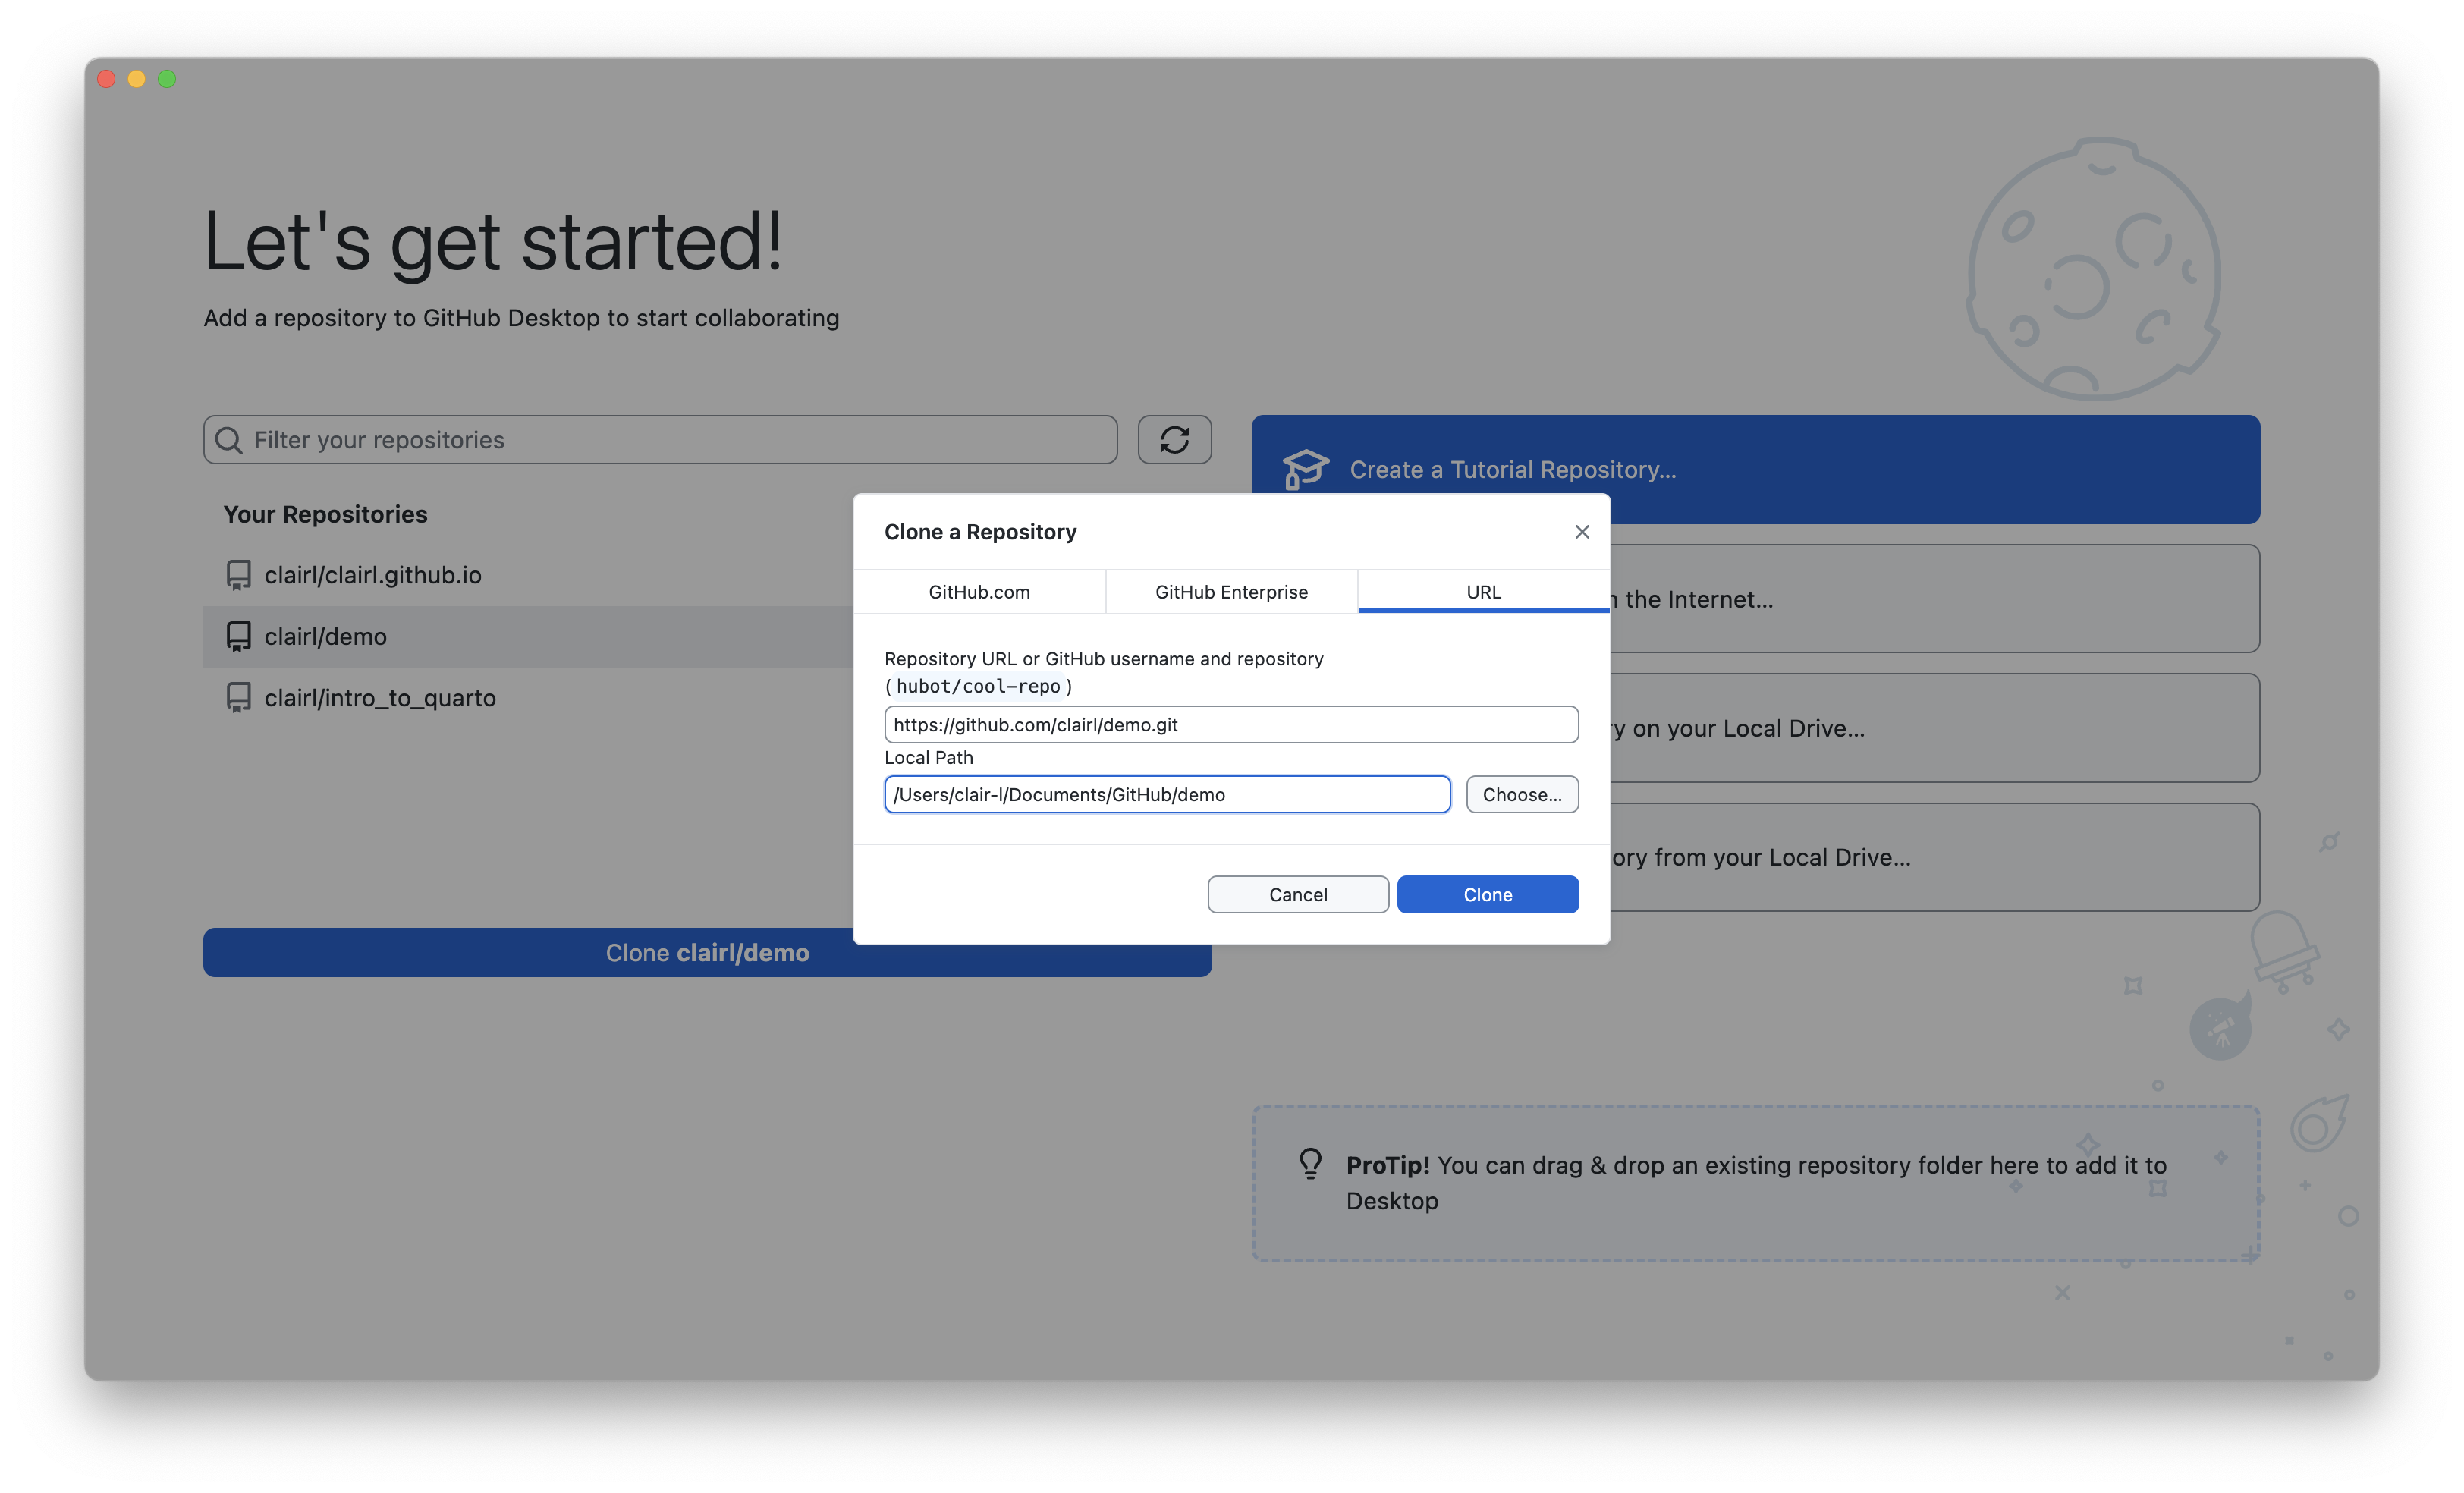
Clone GitHub Repository in GitHub Desktop (cont’d)
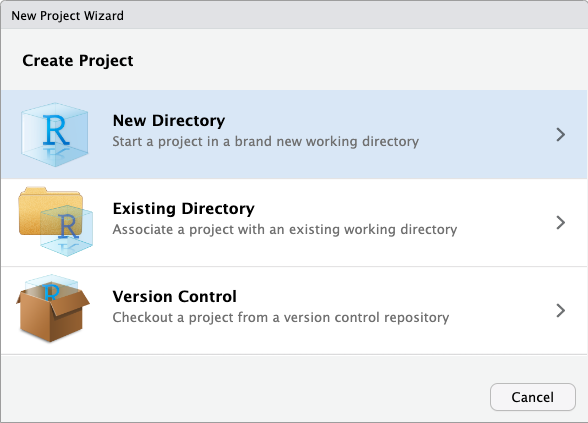
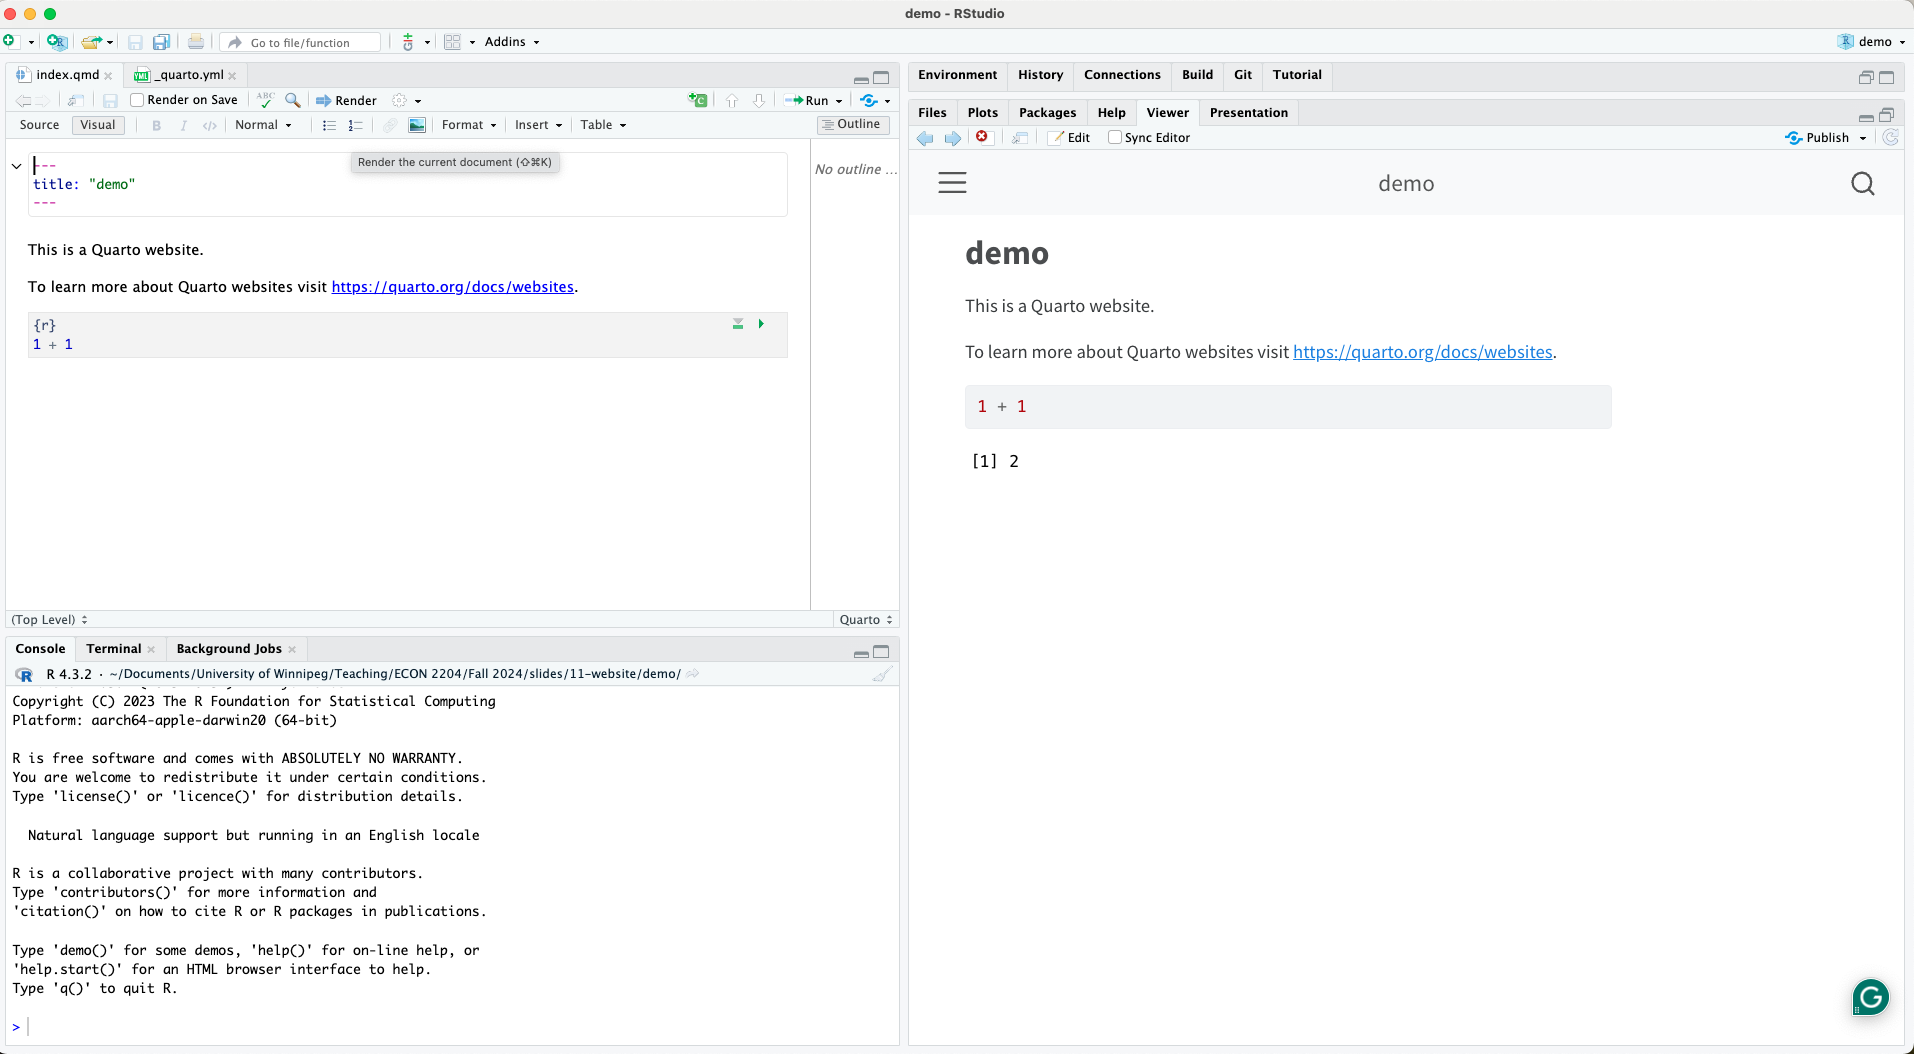
R Projects
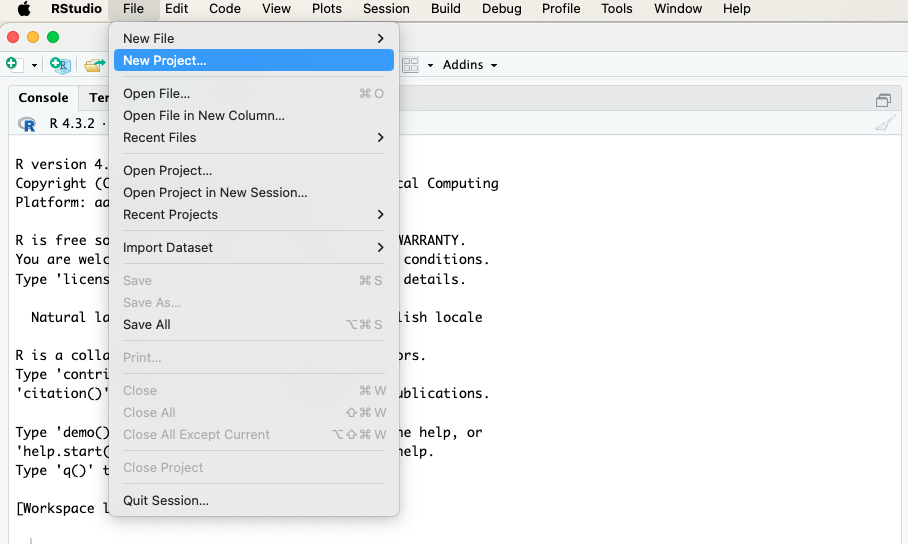
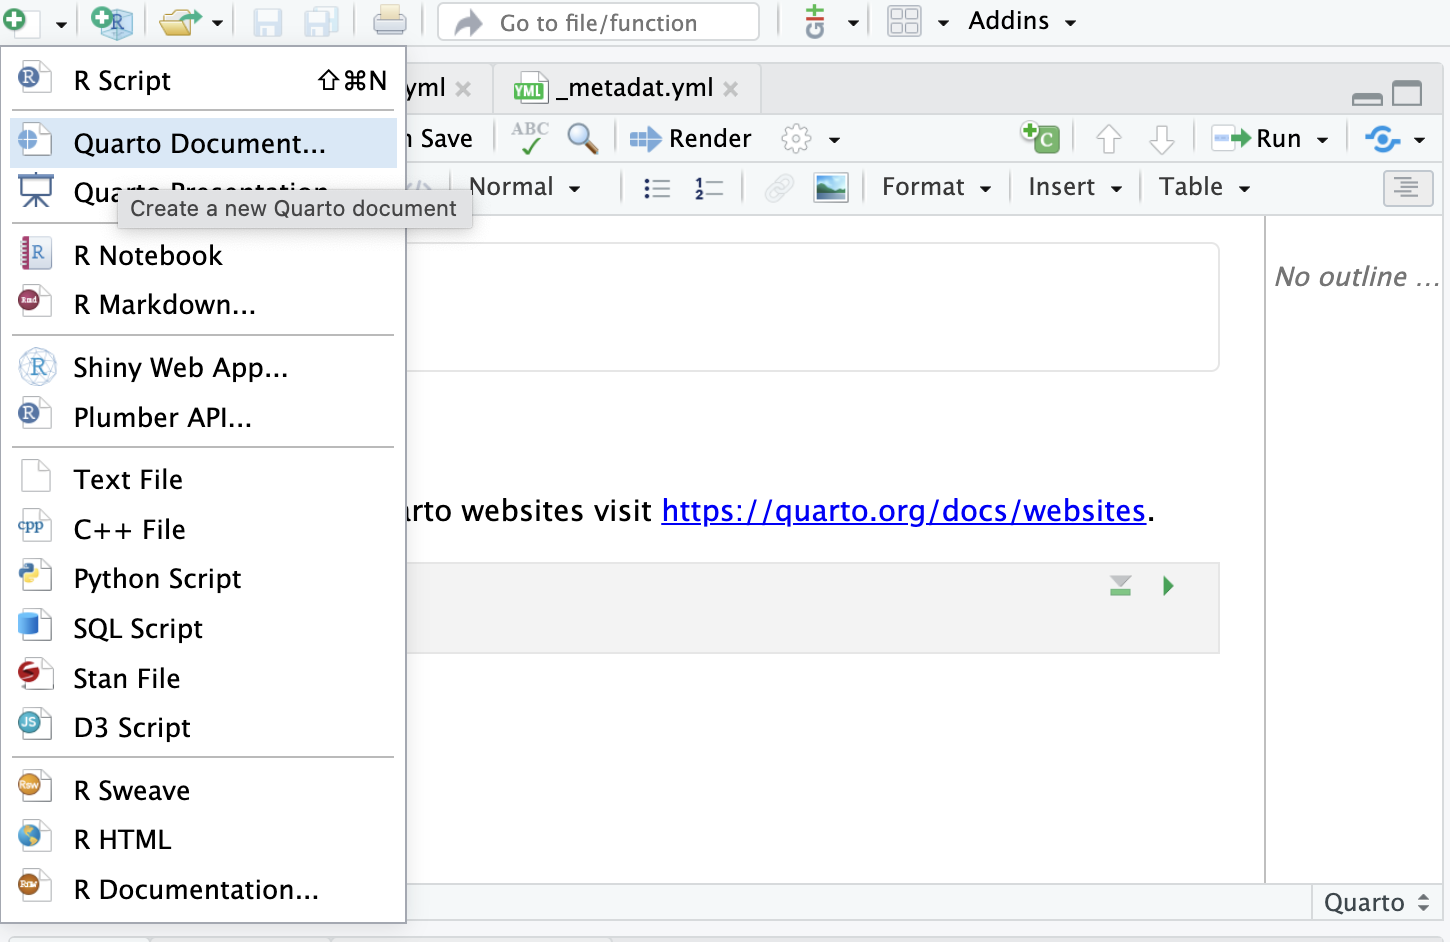
- To begin, create a new Quarto project in R Studio
- Click File->New Project…
R Projects (cont.)
- Select New Directory
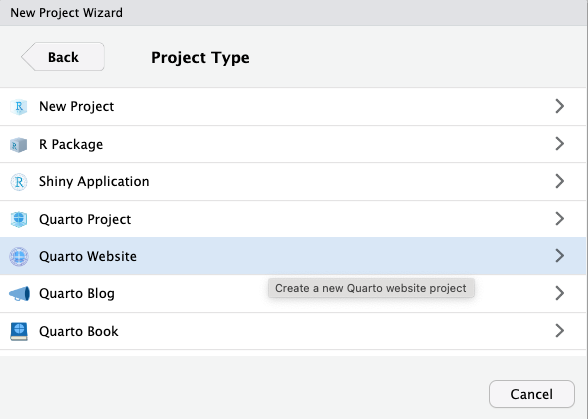
R Projects (cont.)
- Select Quarto Website
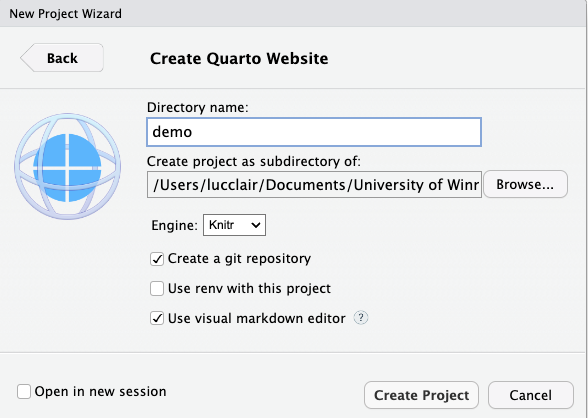
R Projects (cont.)
- Name the directory. I named mine demo.
- Choose a path for the new project and click Create Project
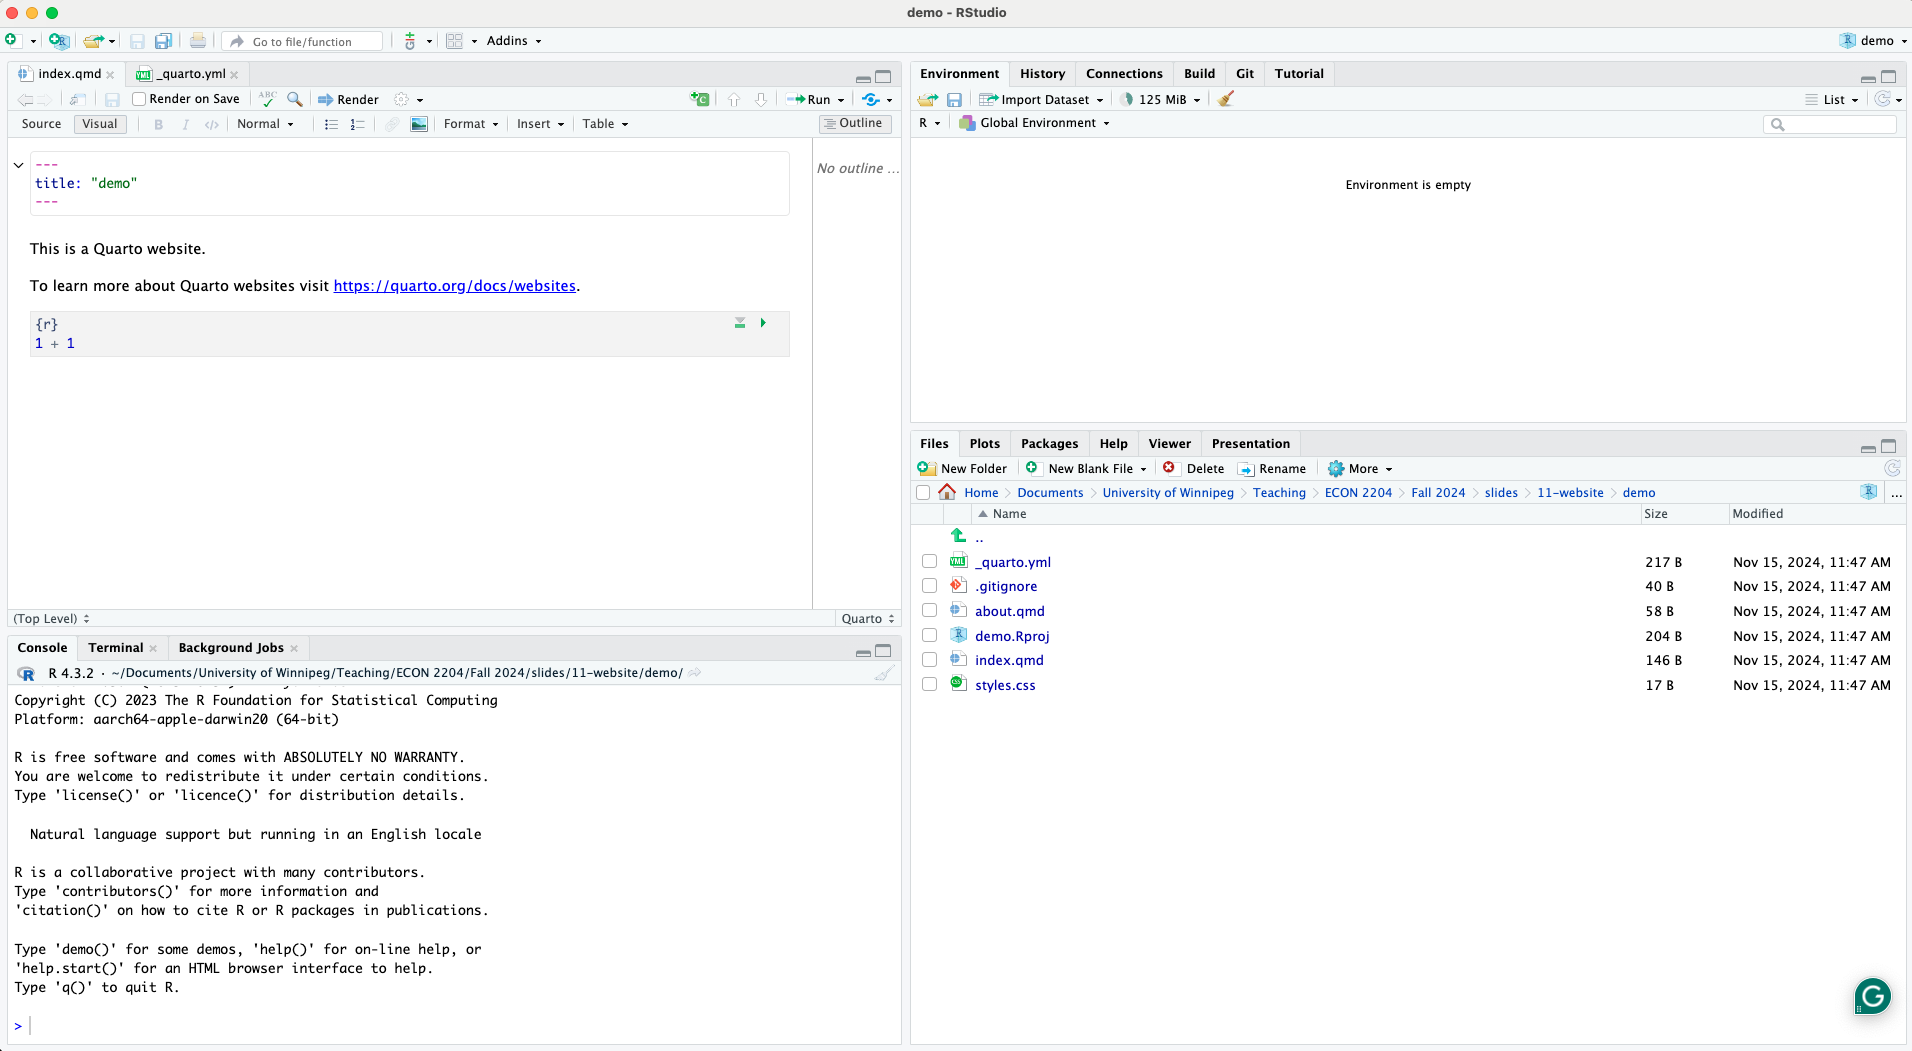
Quarto Website Files
- R Studio creates a project with a number of files
Building the Website (cont.)
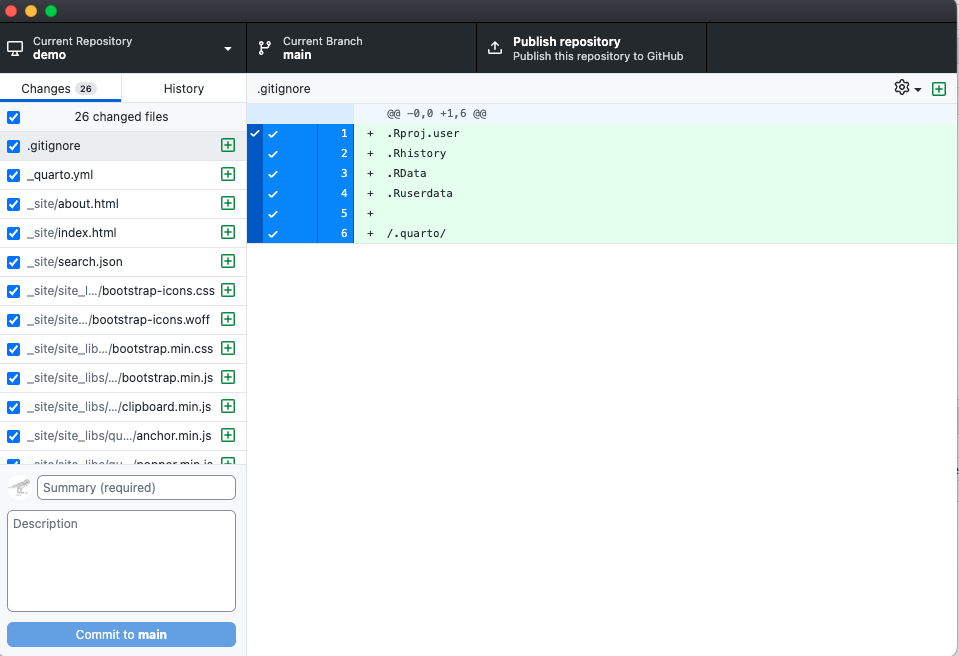
Connecting R Project to GitHub (cont.)
Connecting R Project to GitHub (cont.)
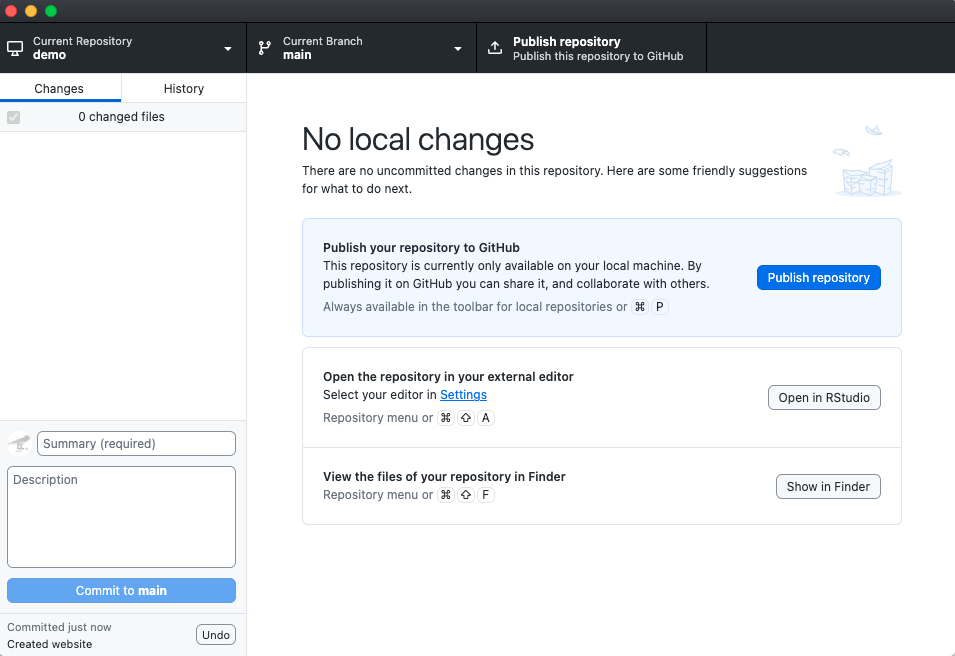
- Commit changes
- Write a summary (E.g., “Created Quarto website”)
Connecting R Project to GitHub (cont.)
- Publish repository to GitHub.com
Connecting R Project to GitHub (cont.)
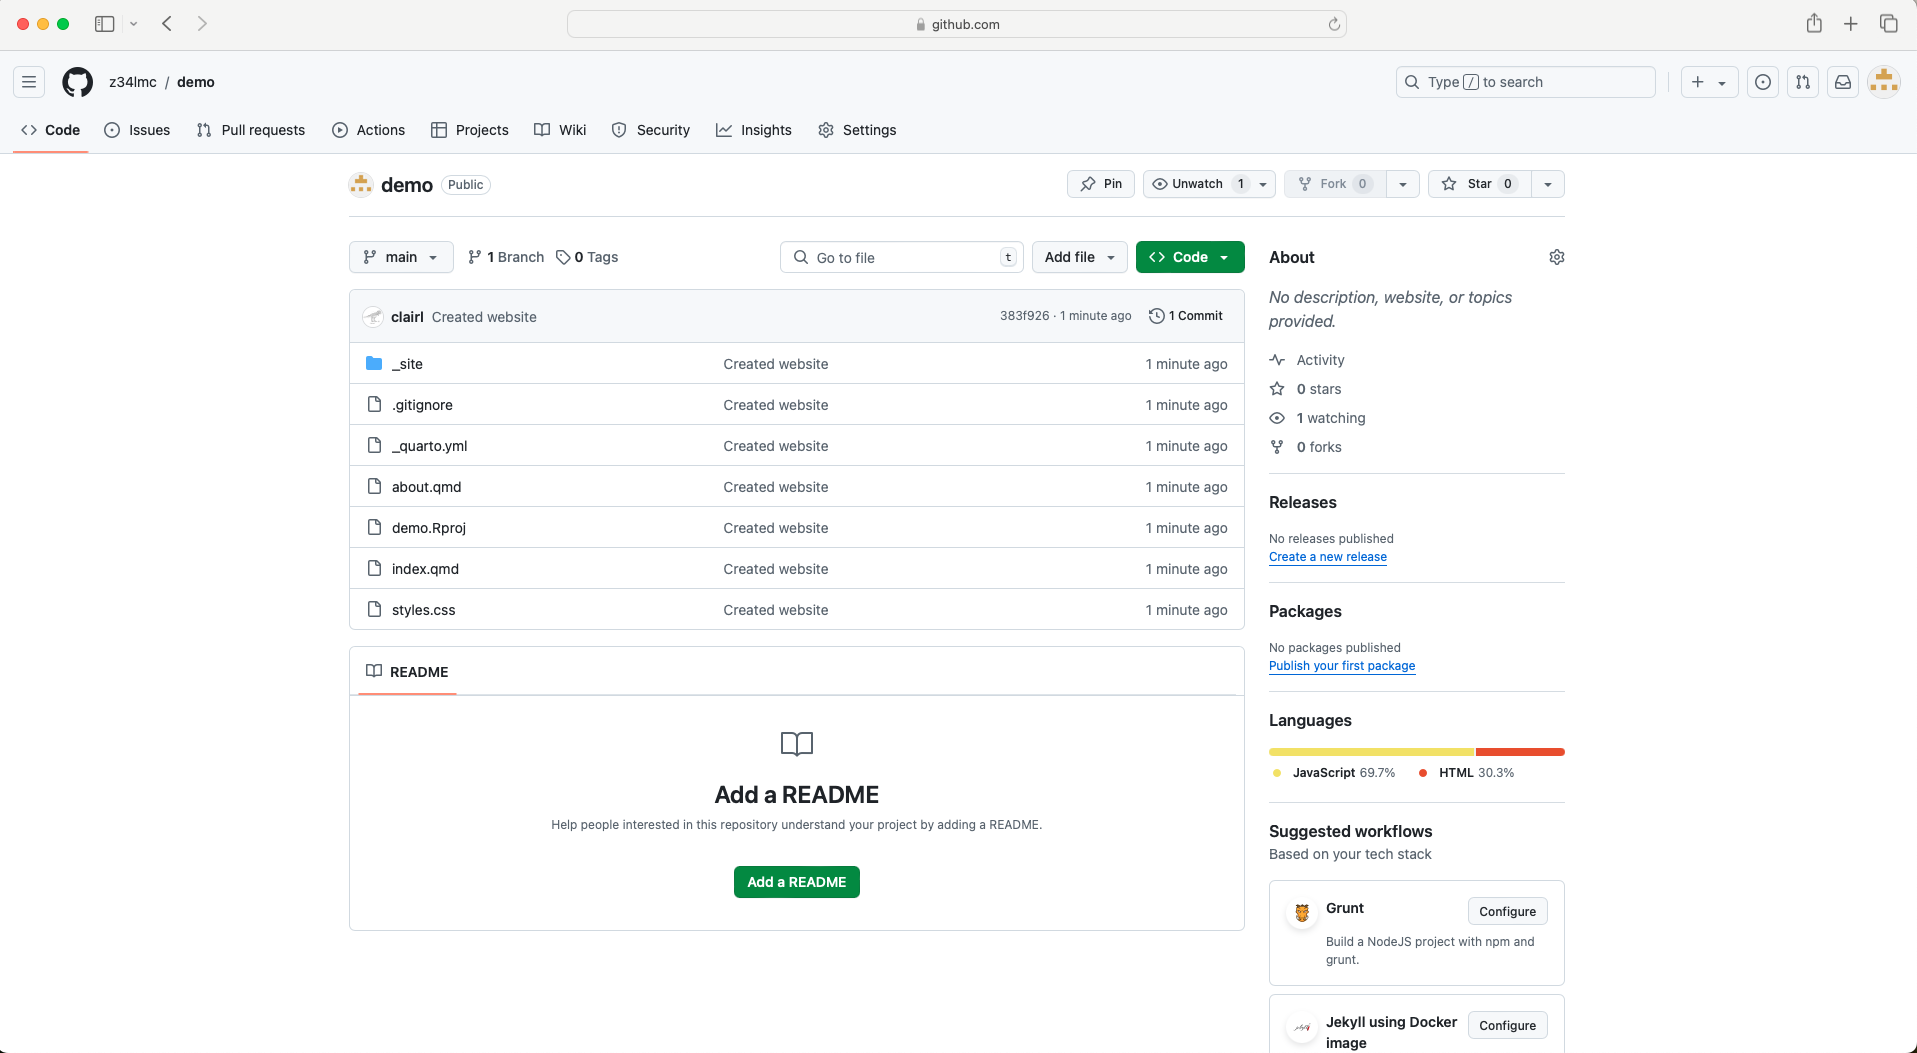
- Go to GitHub.com to confirm that the repository has been published.
Connecting R Project to GitHub (cont.)
- Check to see that the project files are now available in your repository
Publishing Your Website
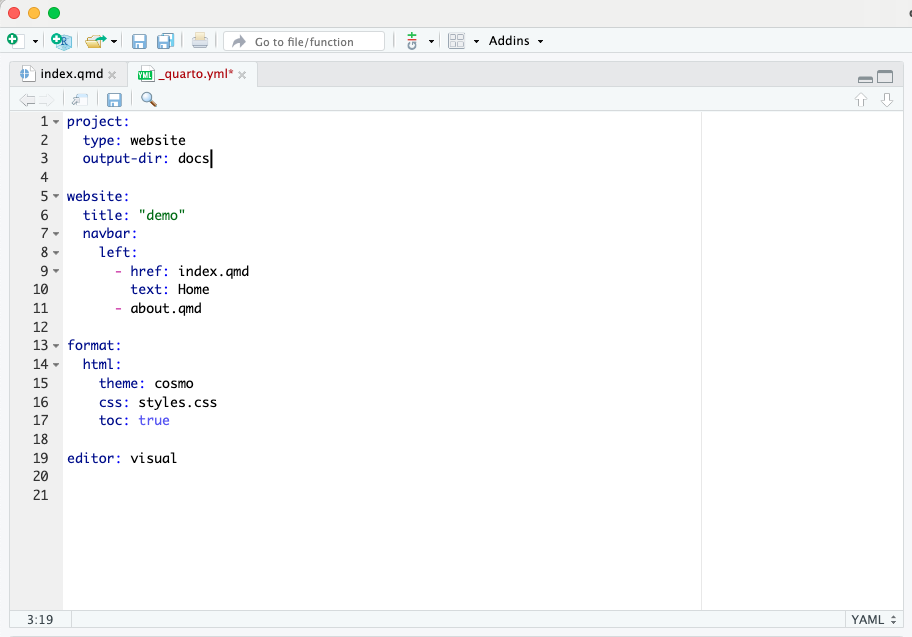
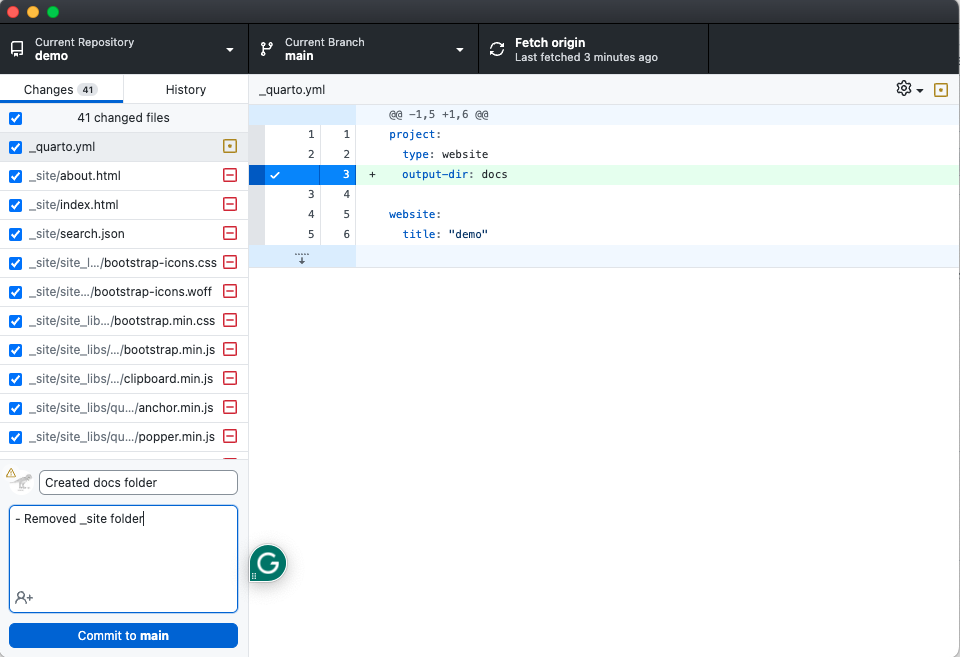
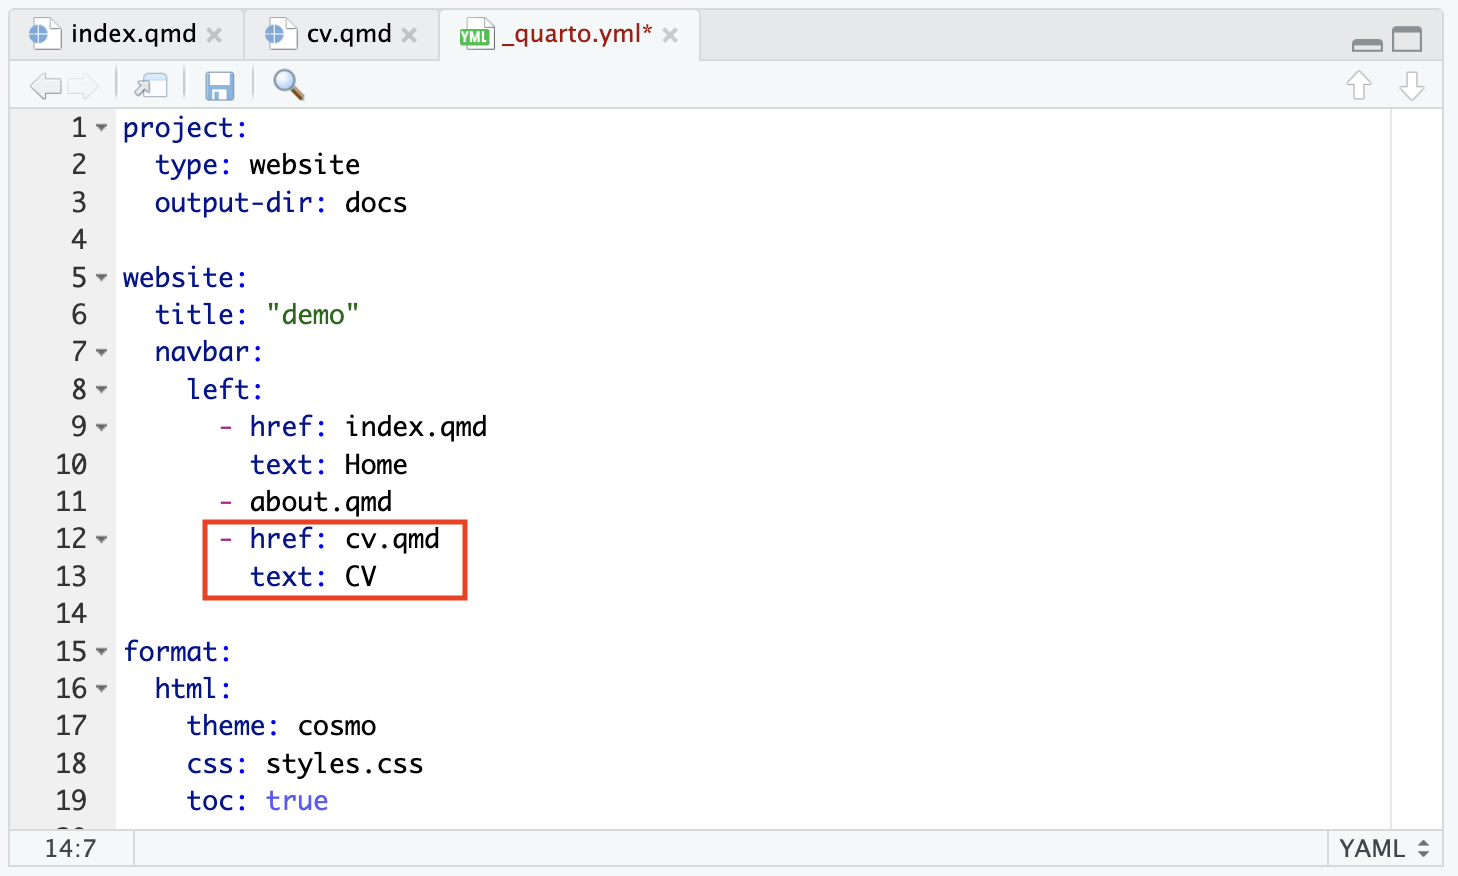
- Return to R Studio and open the _quarto.yml file.
- Under
project:include the codeoutput-dir: docsand render the website. This will save the website files in a newly created docs folder.
Publishing Your Website (cont.)
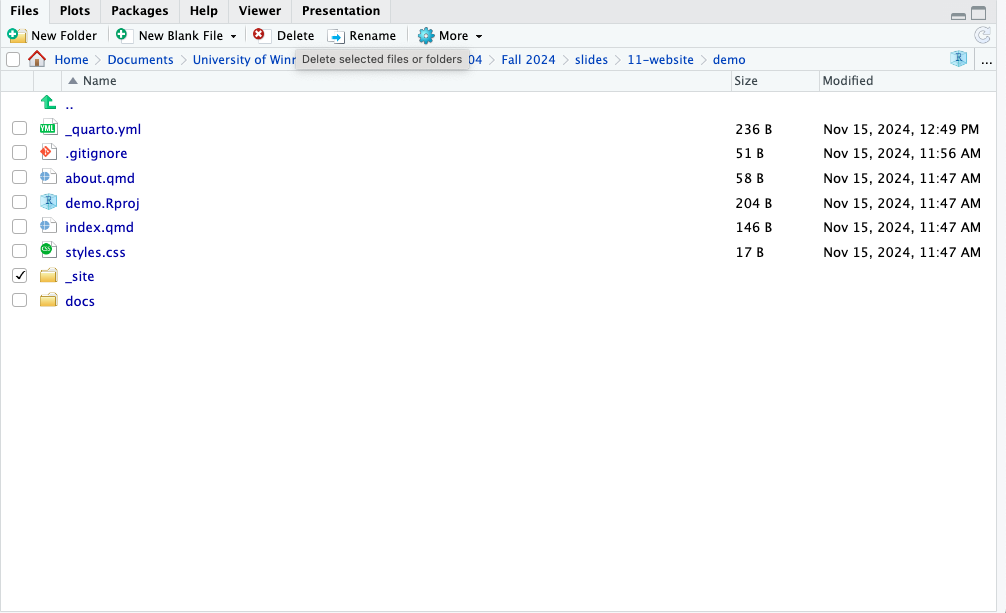
- We no longer need the _site folder, so we can delete it.
Publishing Your Website (cont.)
- Return to GitHub Desktop, commit the changes, and push them to GitHub.com.
- Remember to leave a summary
Publishing Your Website (cont.)
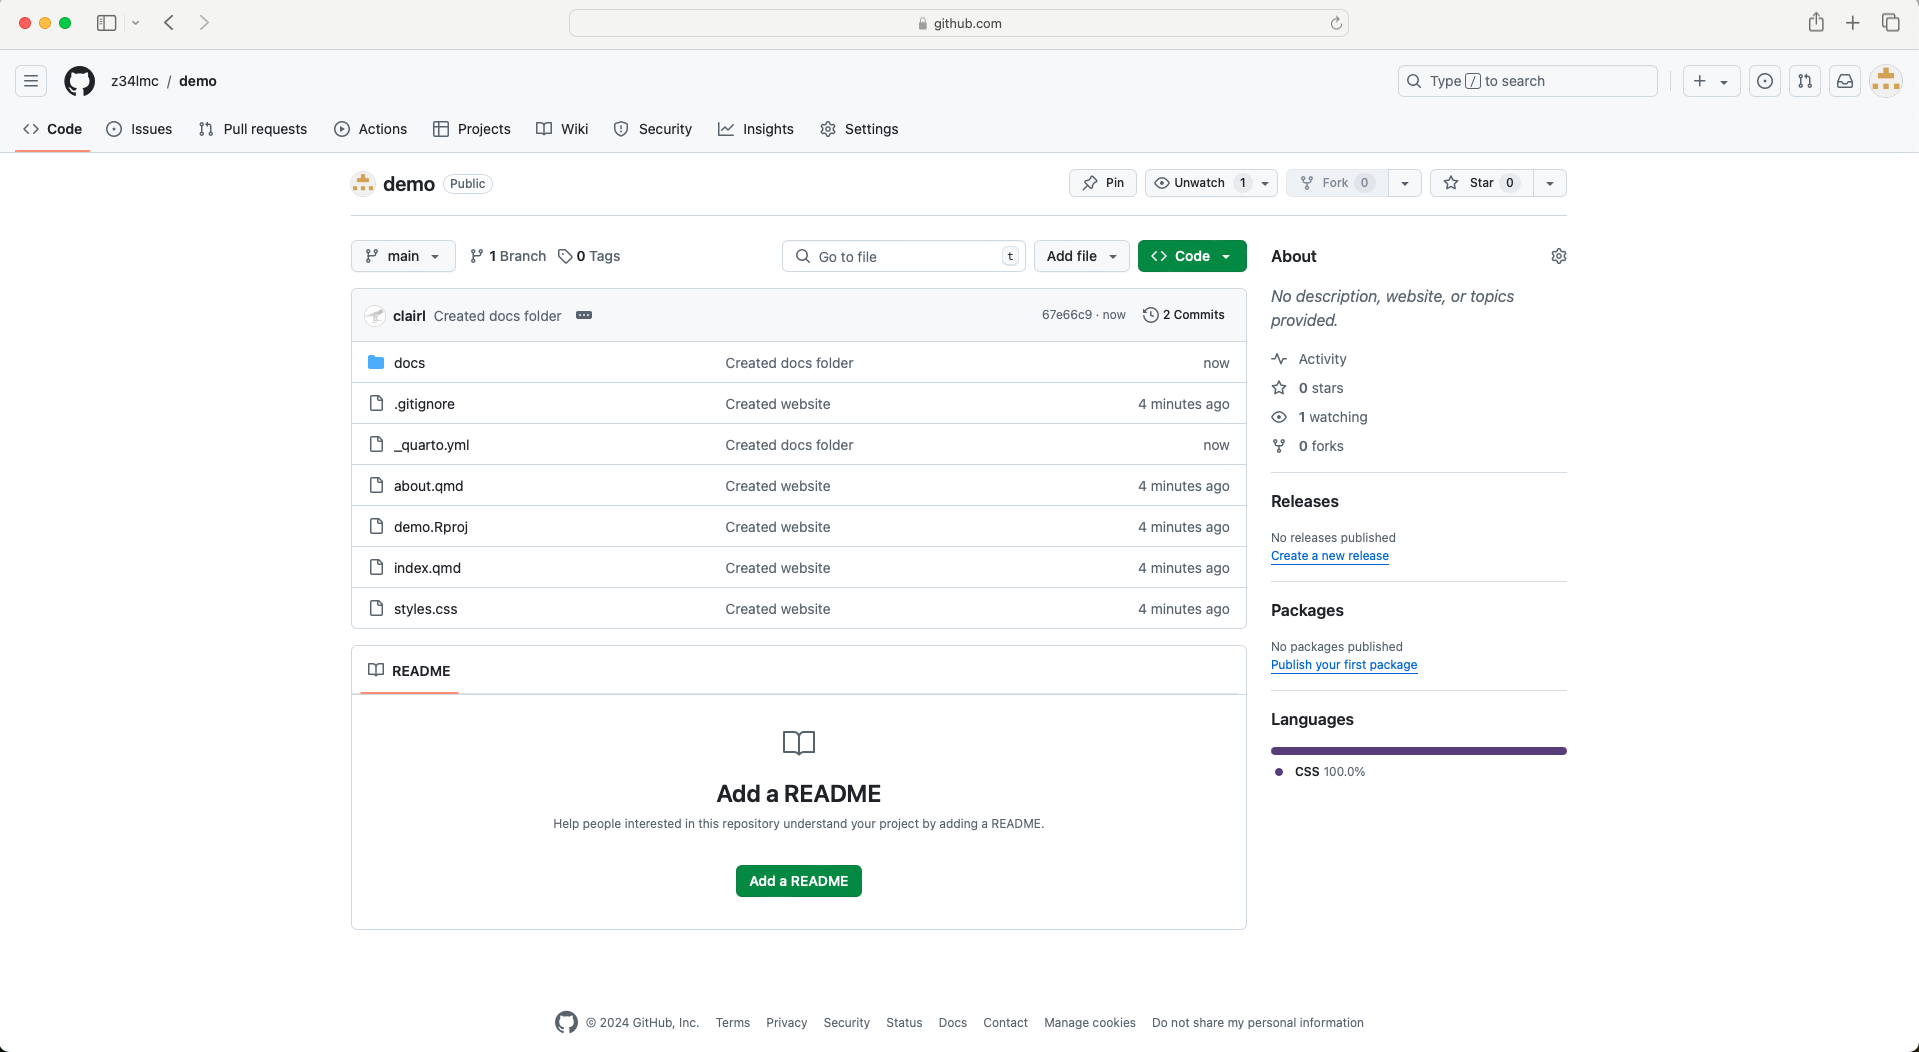
- Return to GitHub.com.
- Note that the docs folder has replaced the _site folder.
GitHub Pages
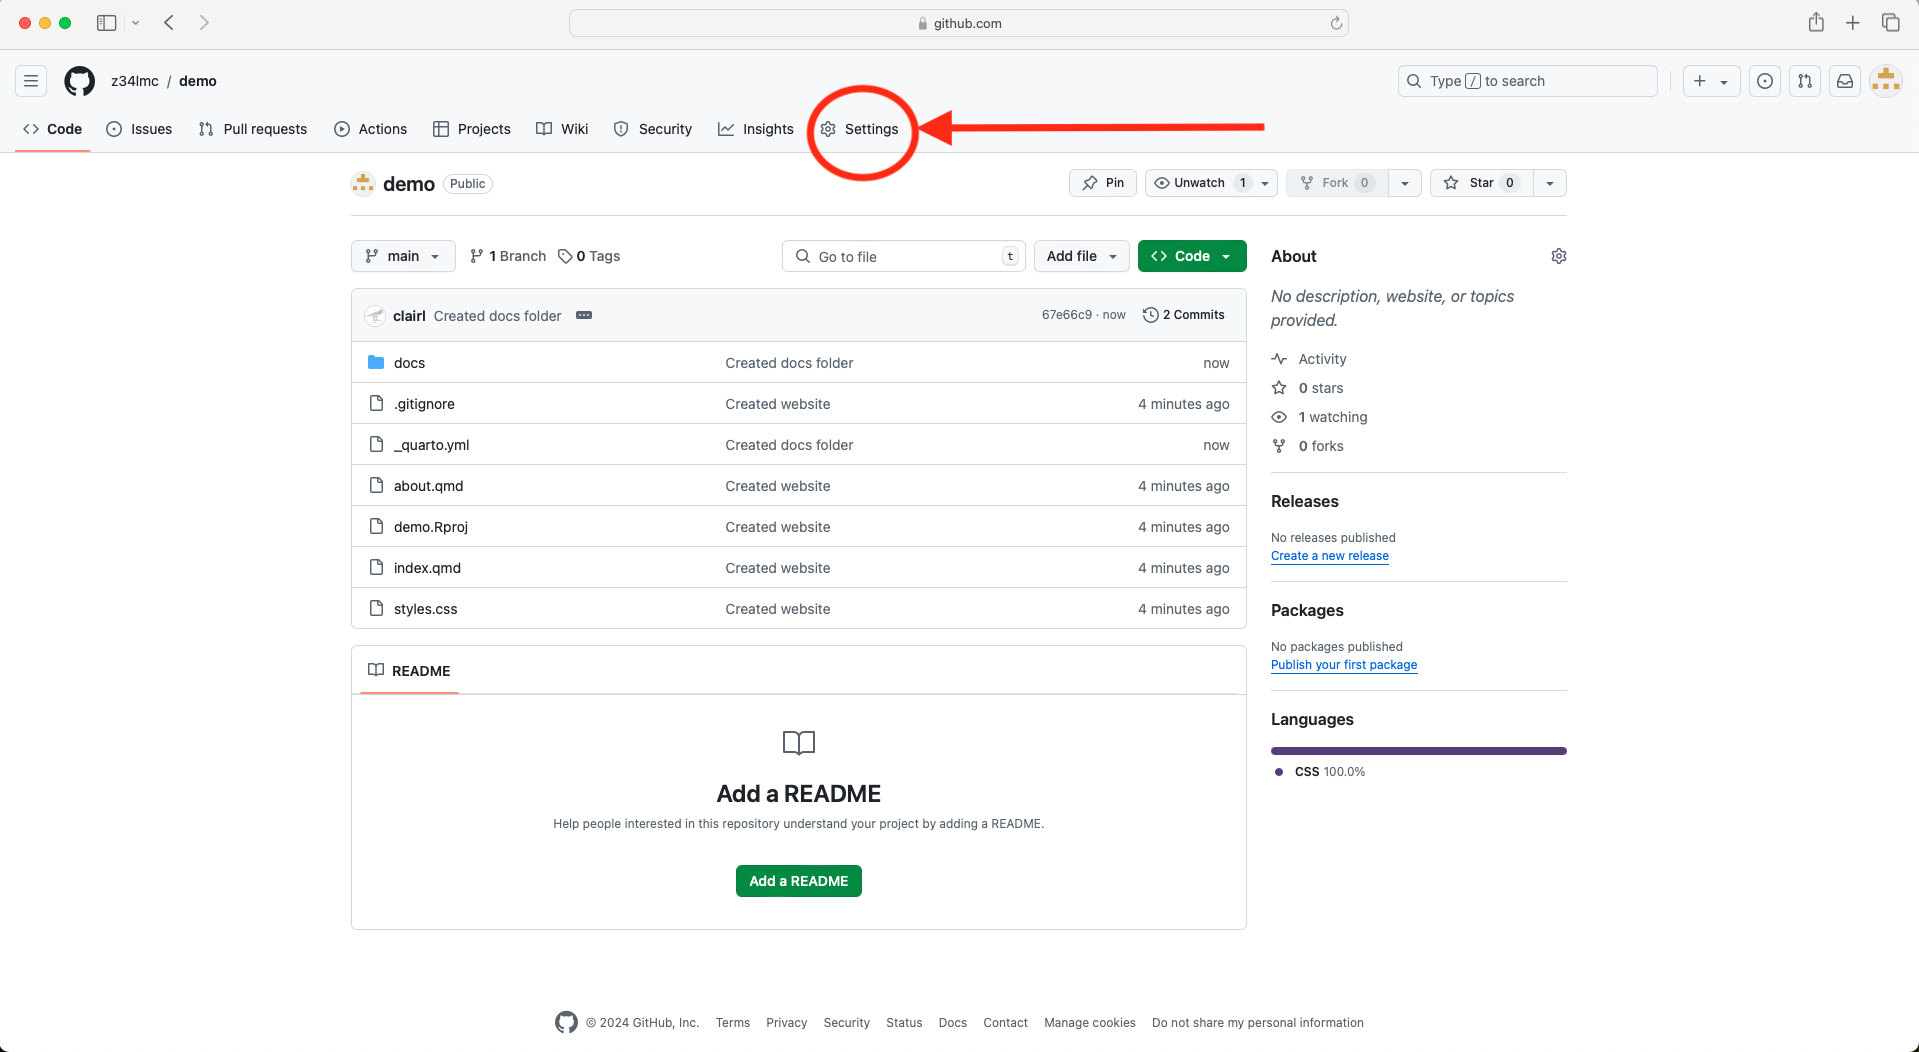
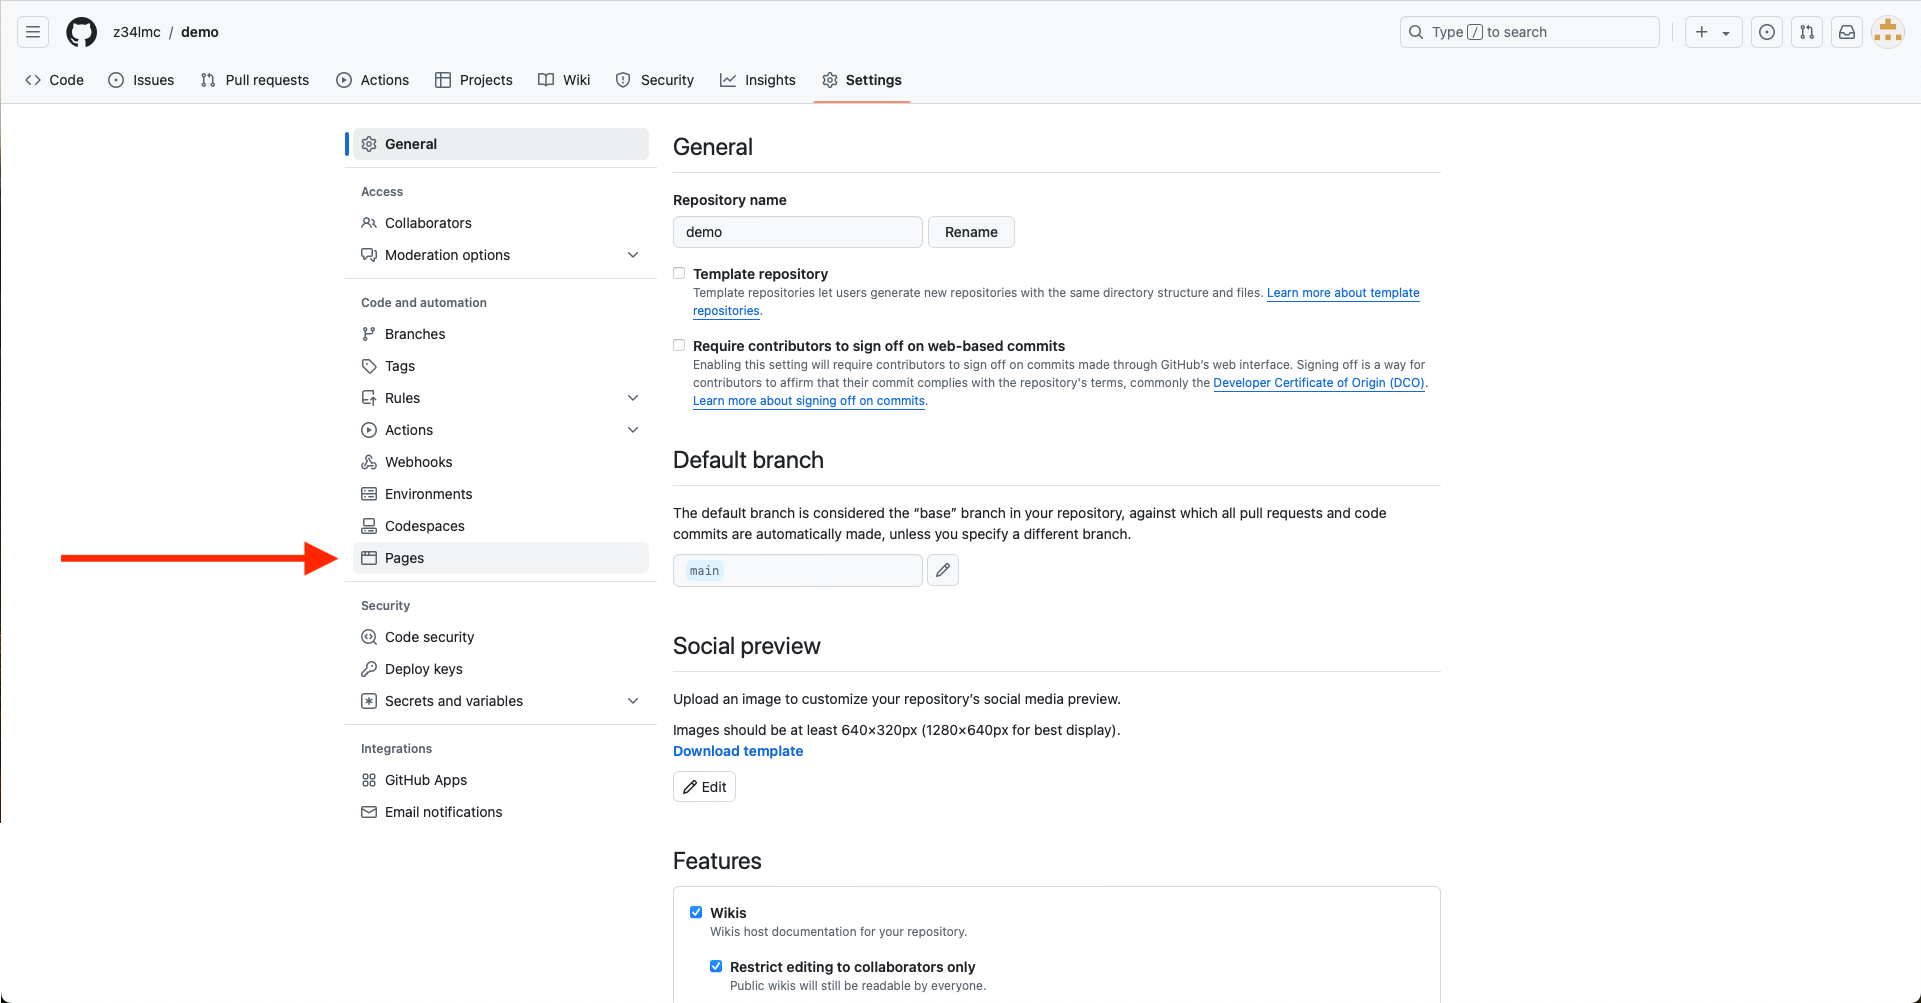
- Click Settings from the top menu.
GitHub Pages (cont.)
- Choose Pages from the menu on the left-hand-side
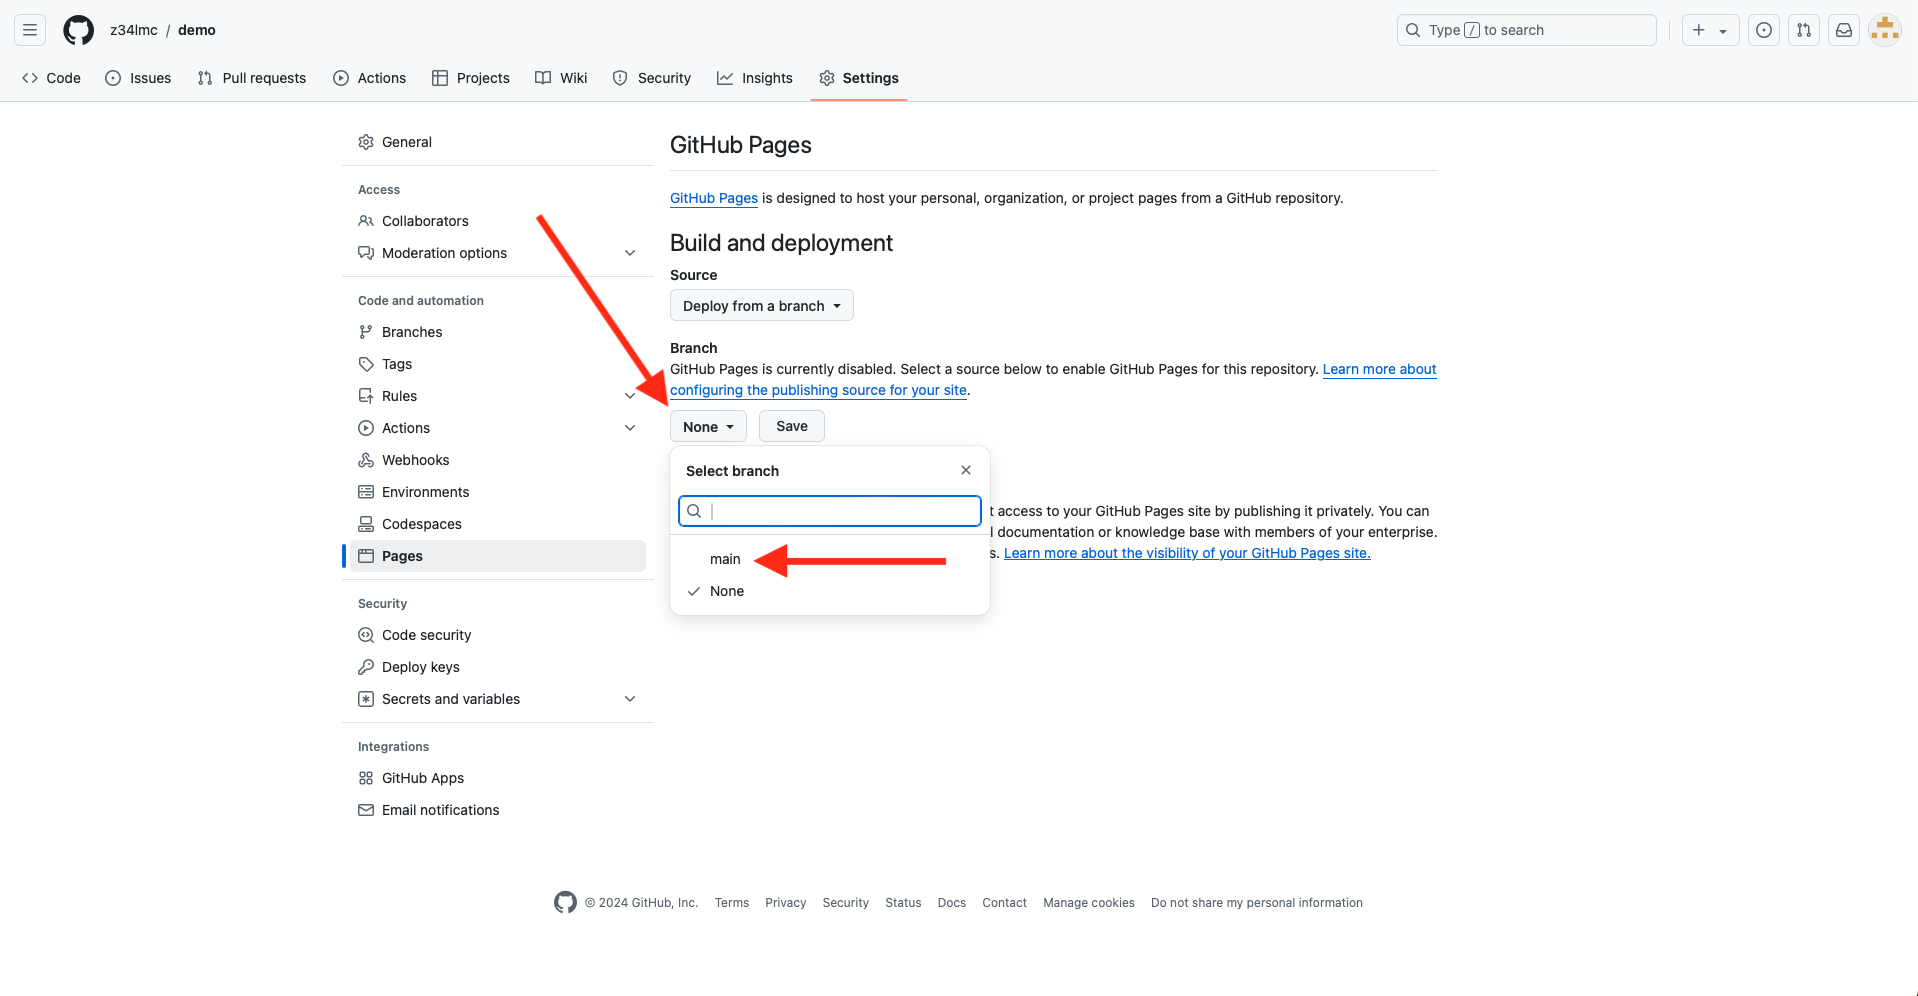
GitHub Pages (cont.)
- Set the branch to main
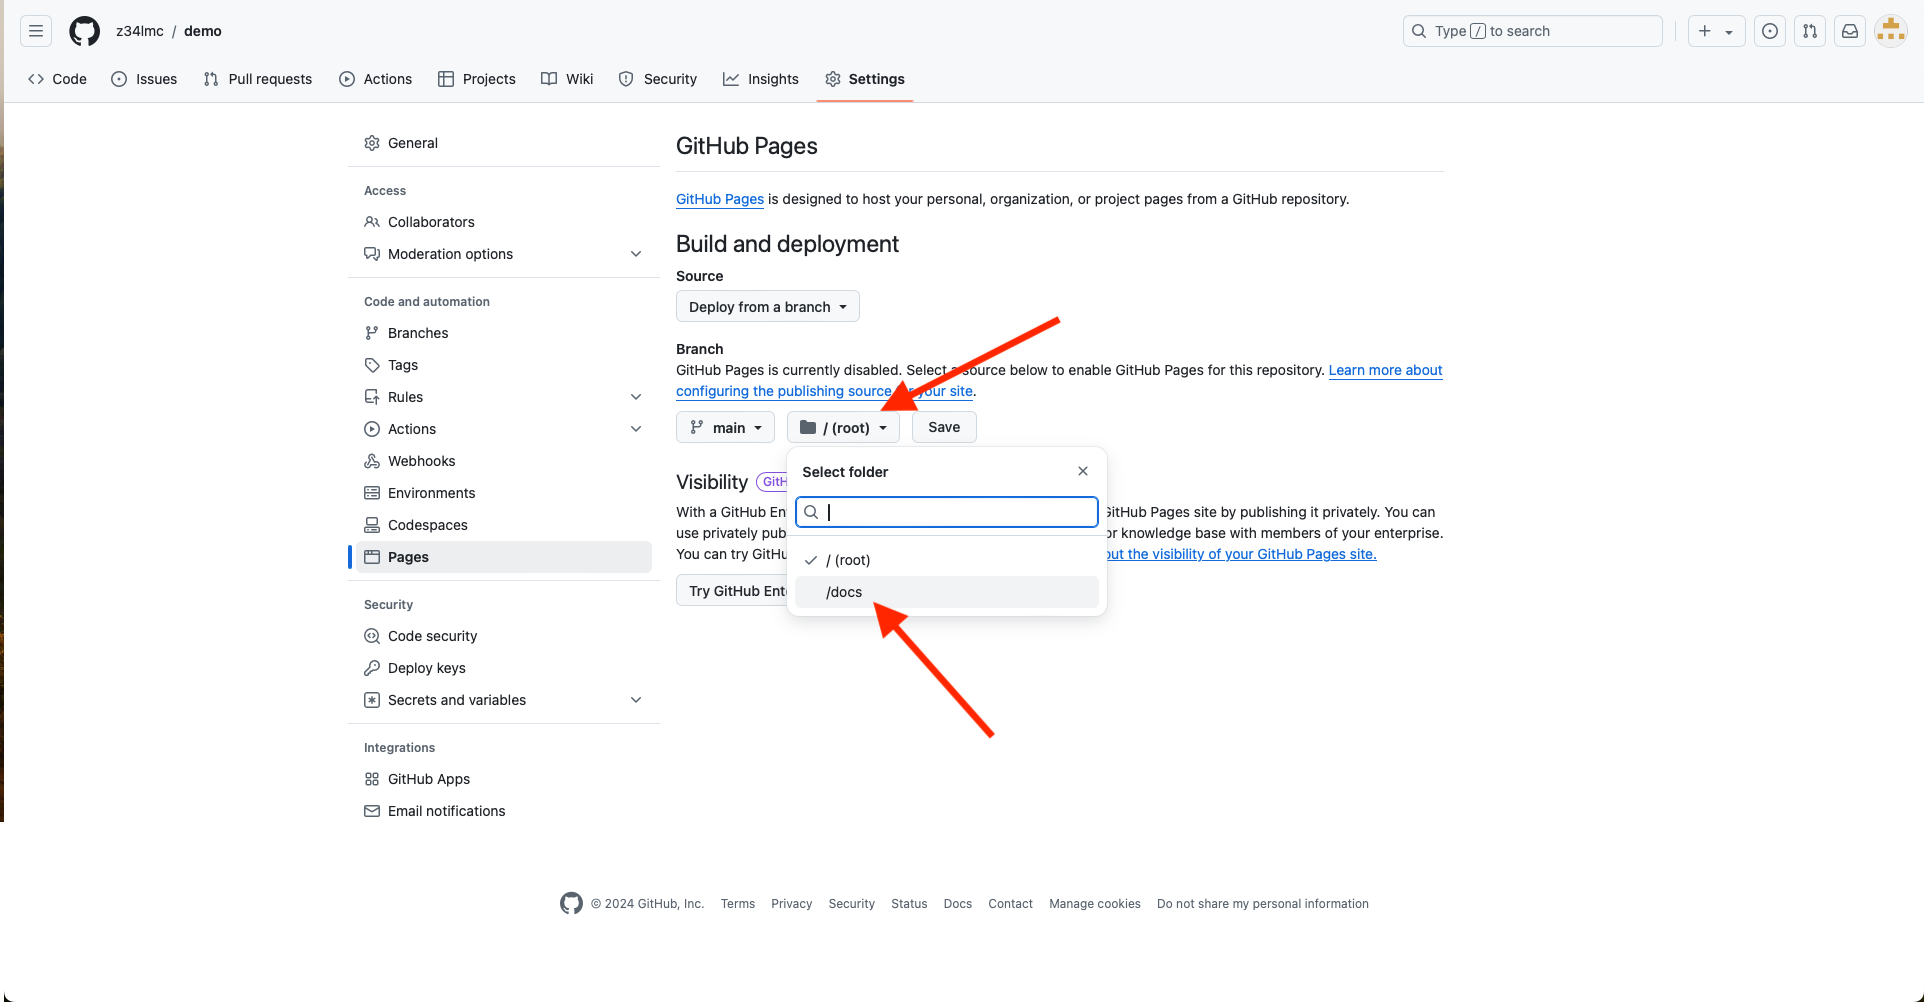
GitHub Pages (cont.)
- Set the folder to docs
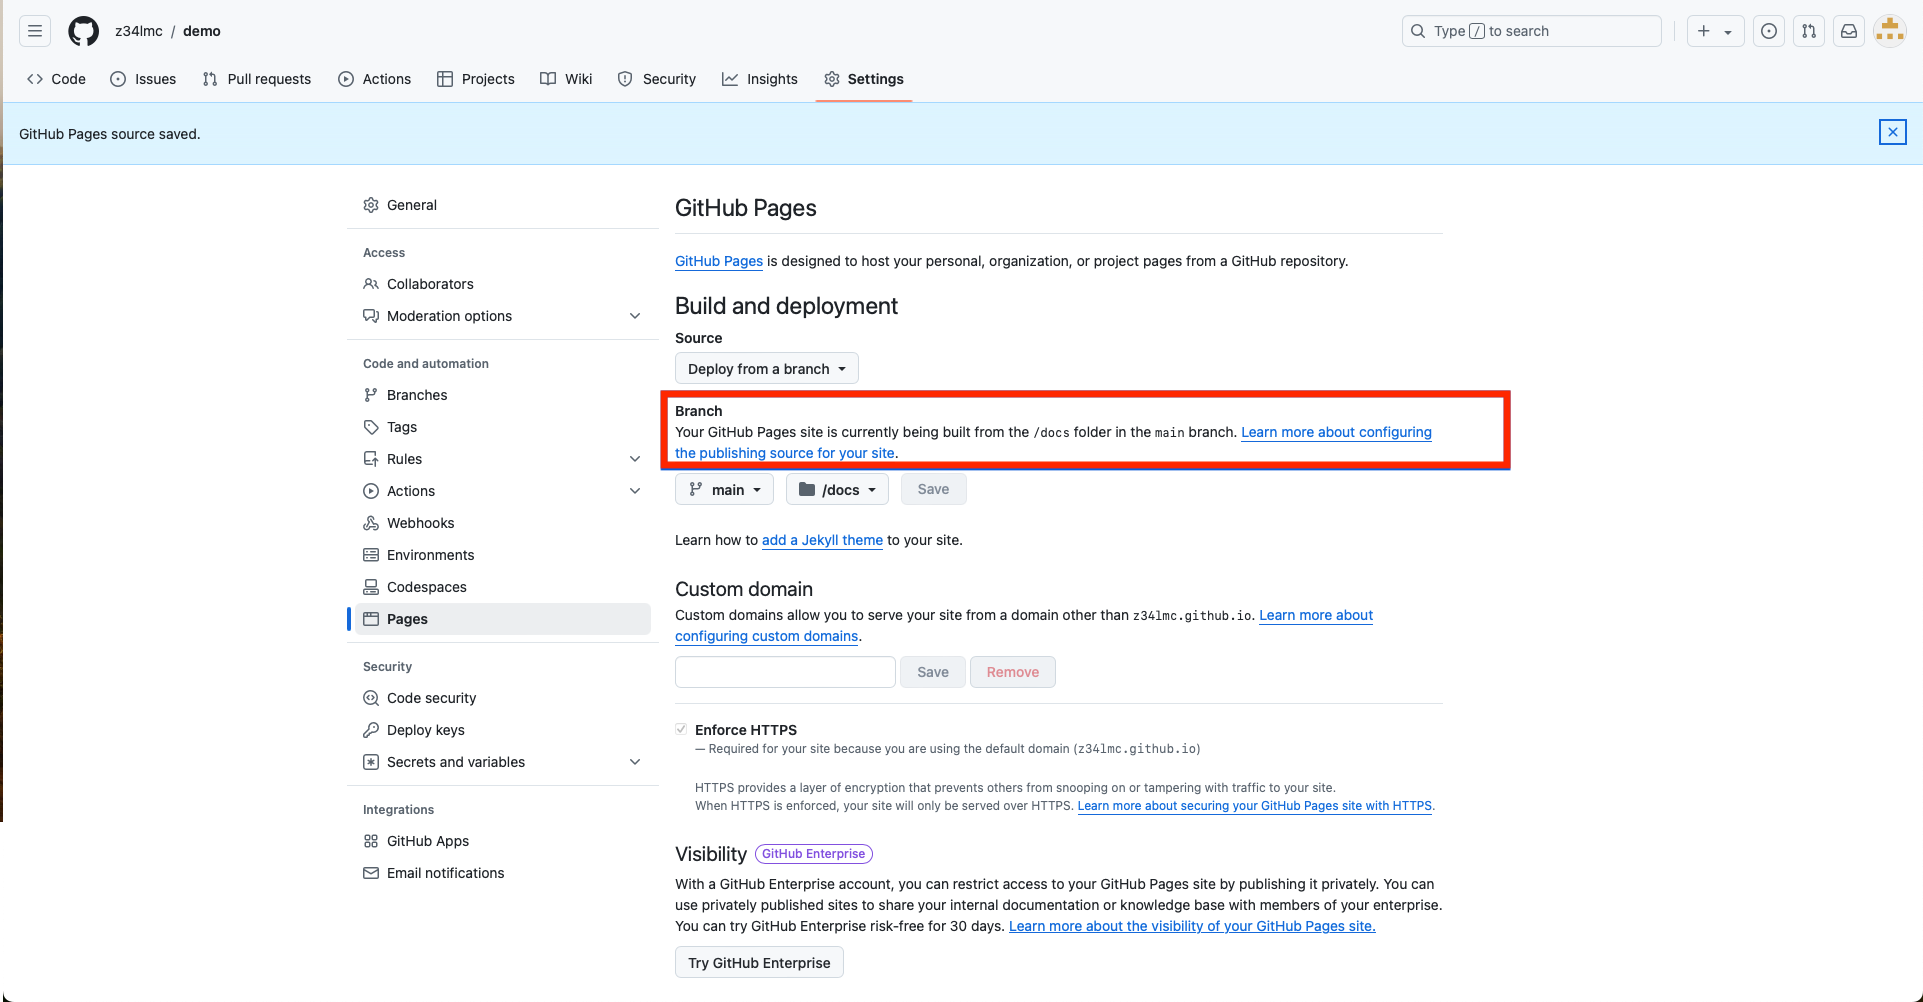
GitHub Pages (cont.)
- Note the message saying that the website is being built
GitHub Pages (cont.)
- Wait a about a minute, then refresh the page. You should see a message that the site is live at a given URL.
- The URL is typically https://username.github.io/repository_name
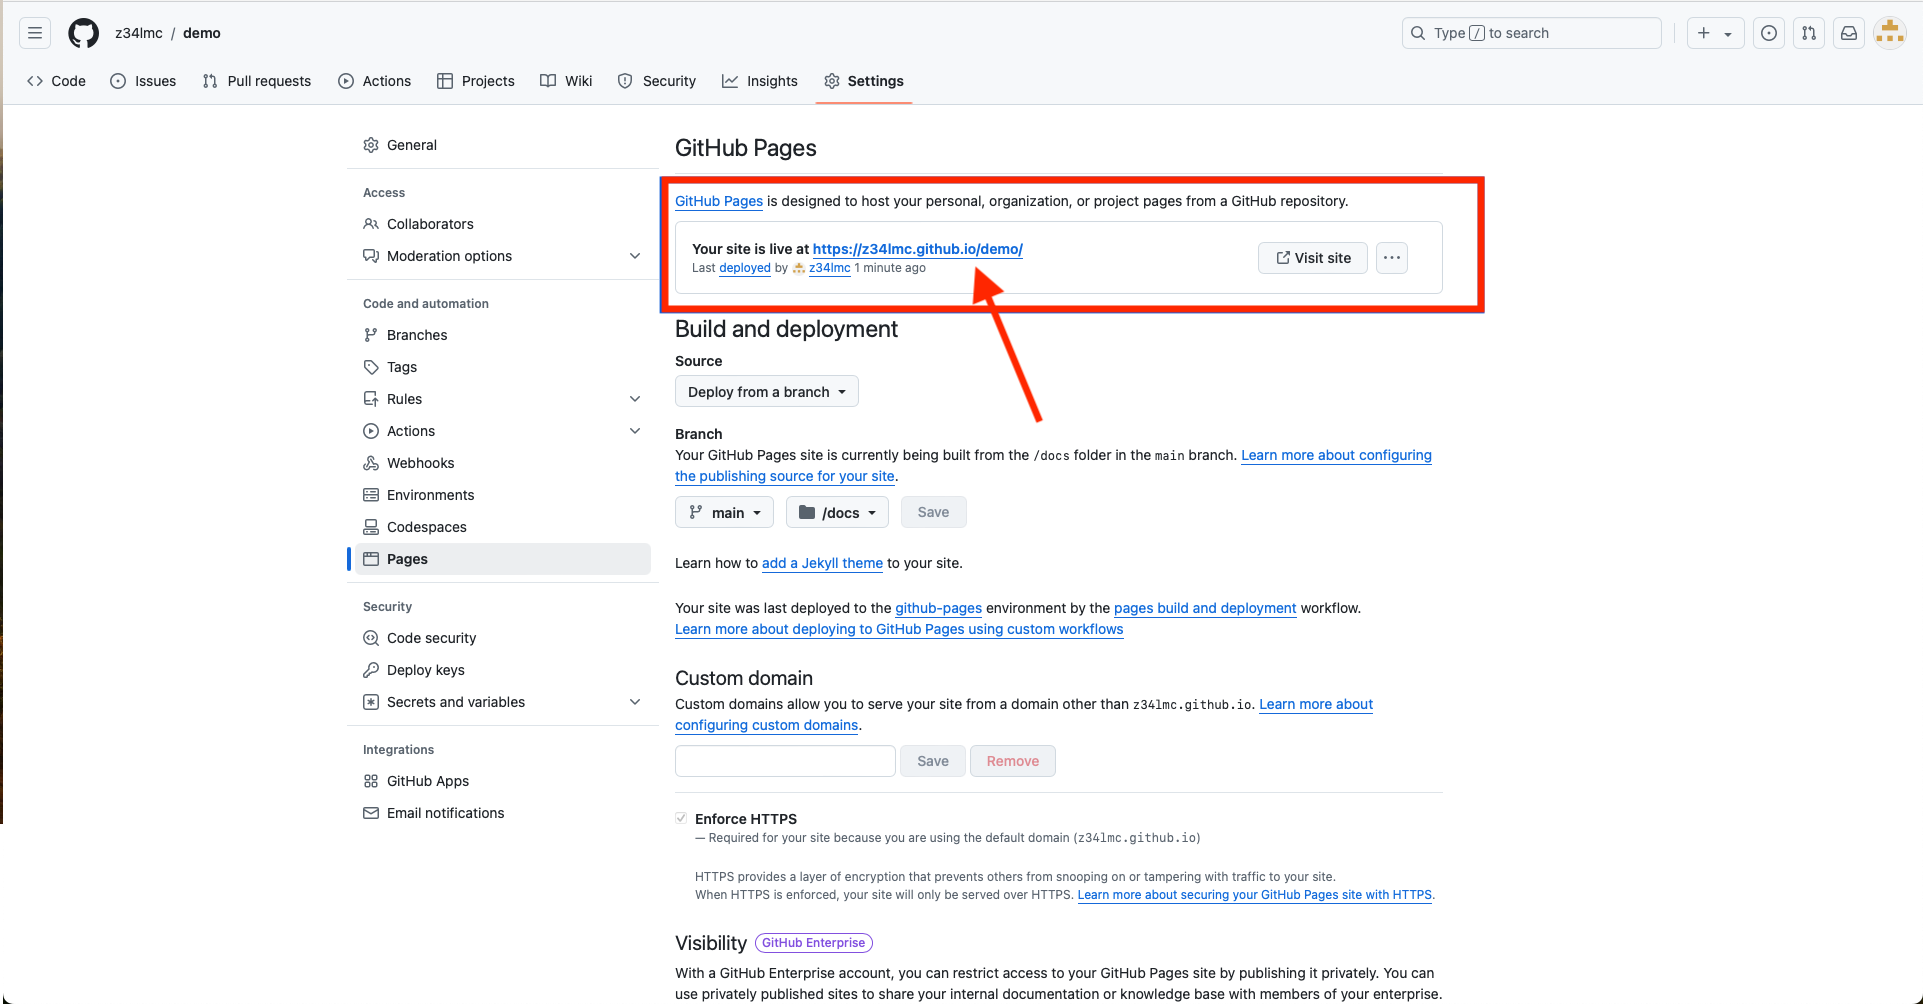
Publishing Your Website (cont.)
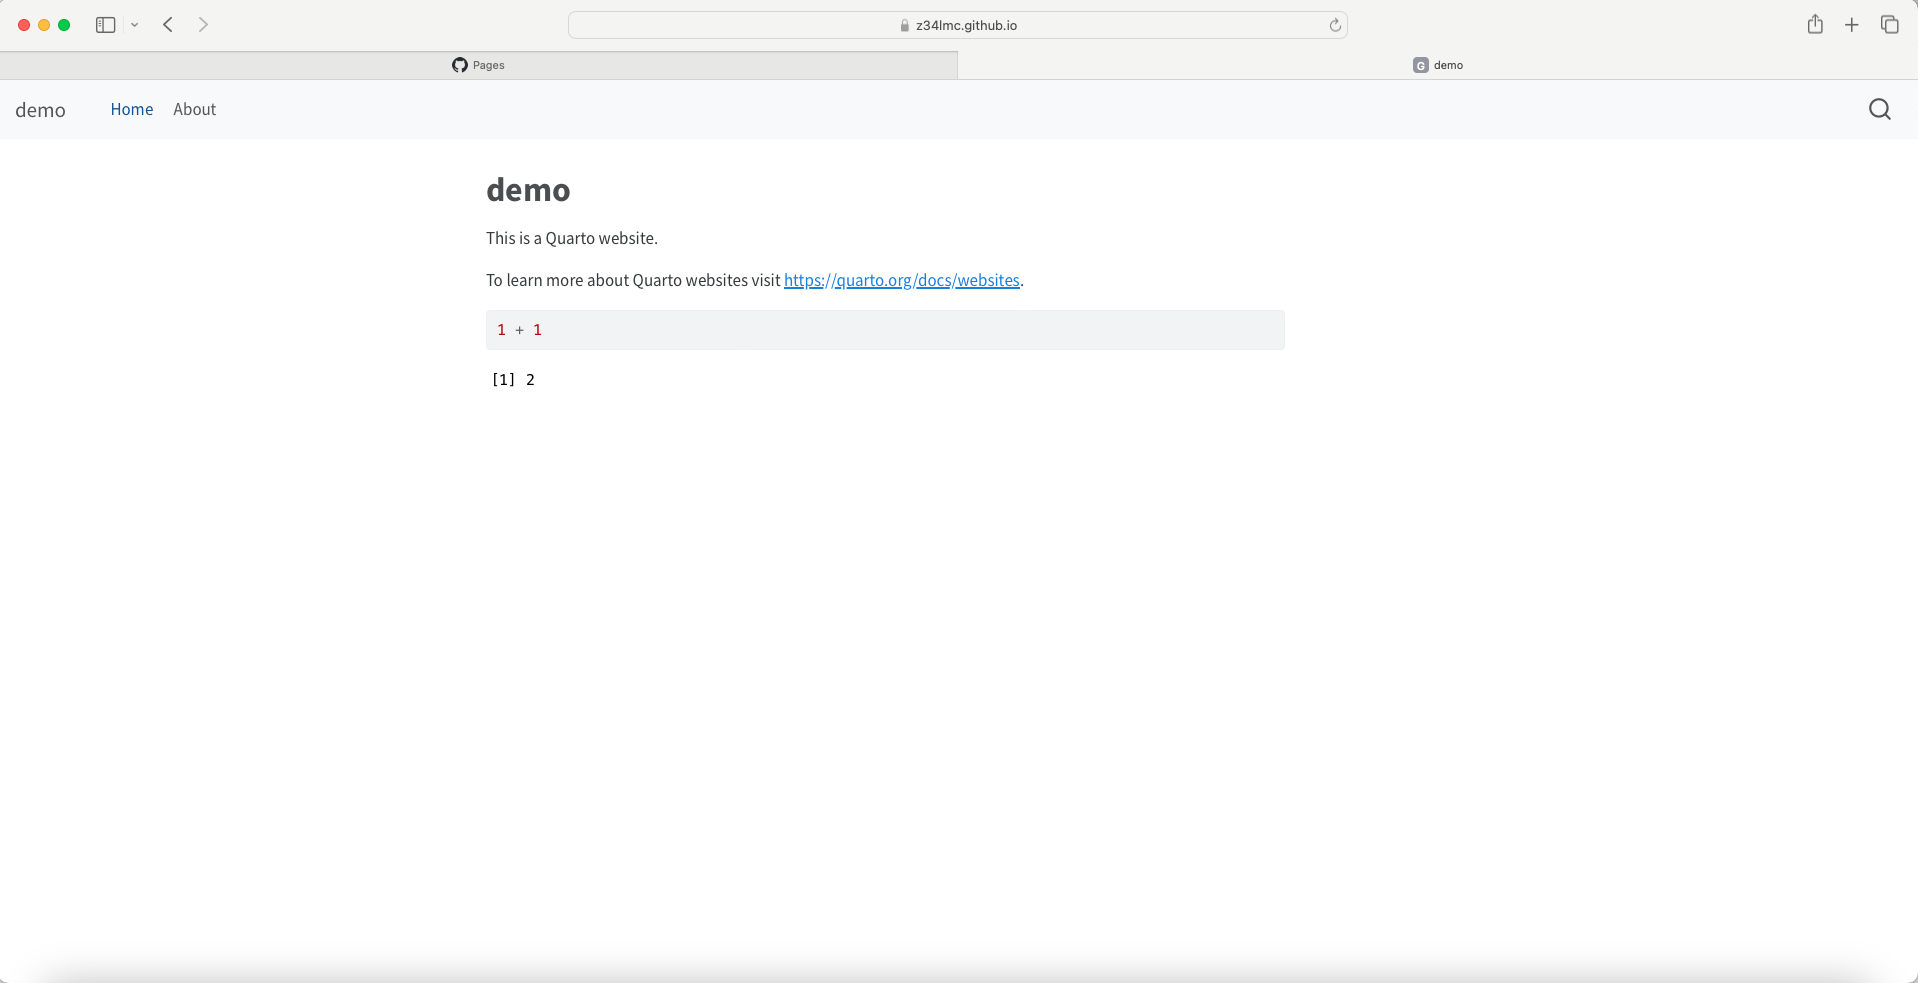
- Follow the link to view your website
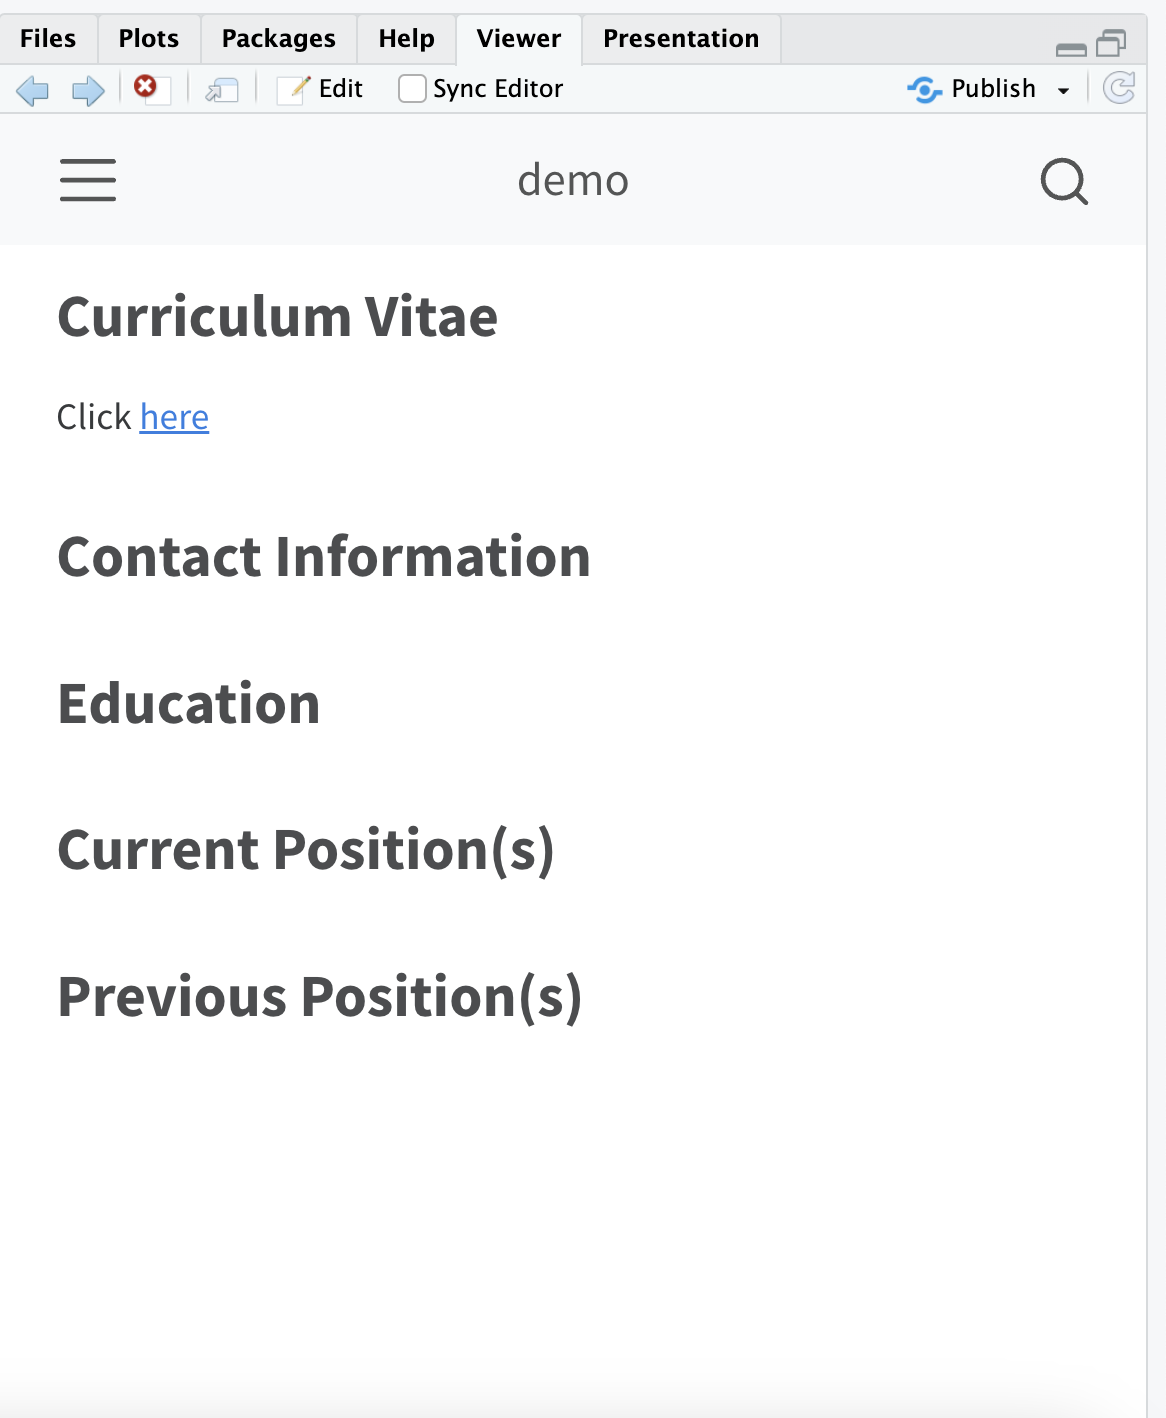
Adding Pages to Your Website
- To add a webpage, create a new .qmd file and save it in your project directory.
Adding Pages to Your Website (cont.)

Adding Pages to Your Website (cont.)
- Add the new Quarto file to the navigation bar in the _quarto.yml file
href:adds the listing page file to the navigation bartext:is the text that will display on the navigation bar.
Adding Pages to Your Website (cont.)

Add File to a Webpage (cont.)
- Reference the file using the syntax
 - E.g.,

Add File to a Webpage (cont.)